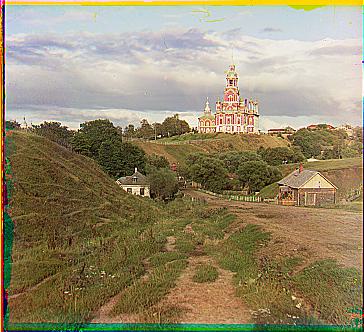
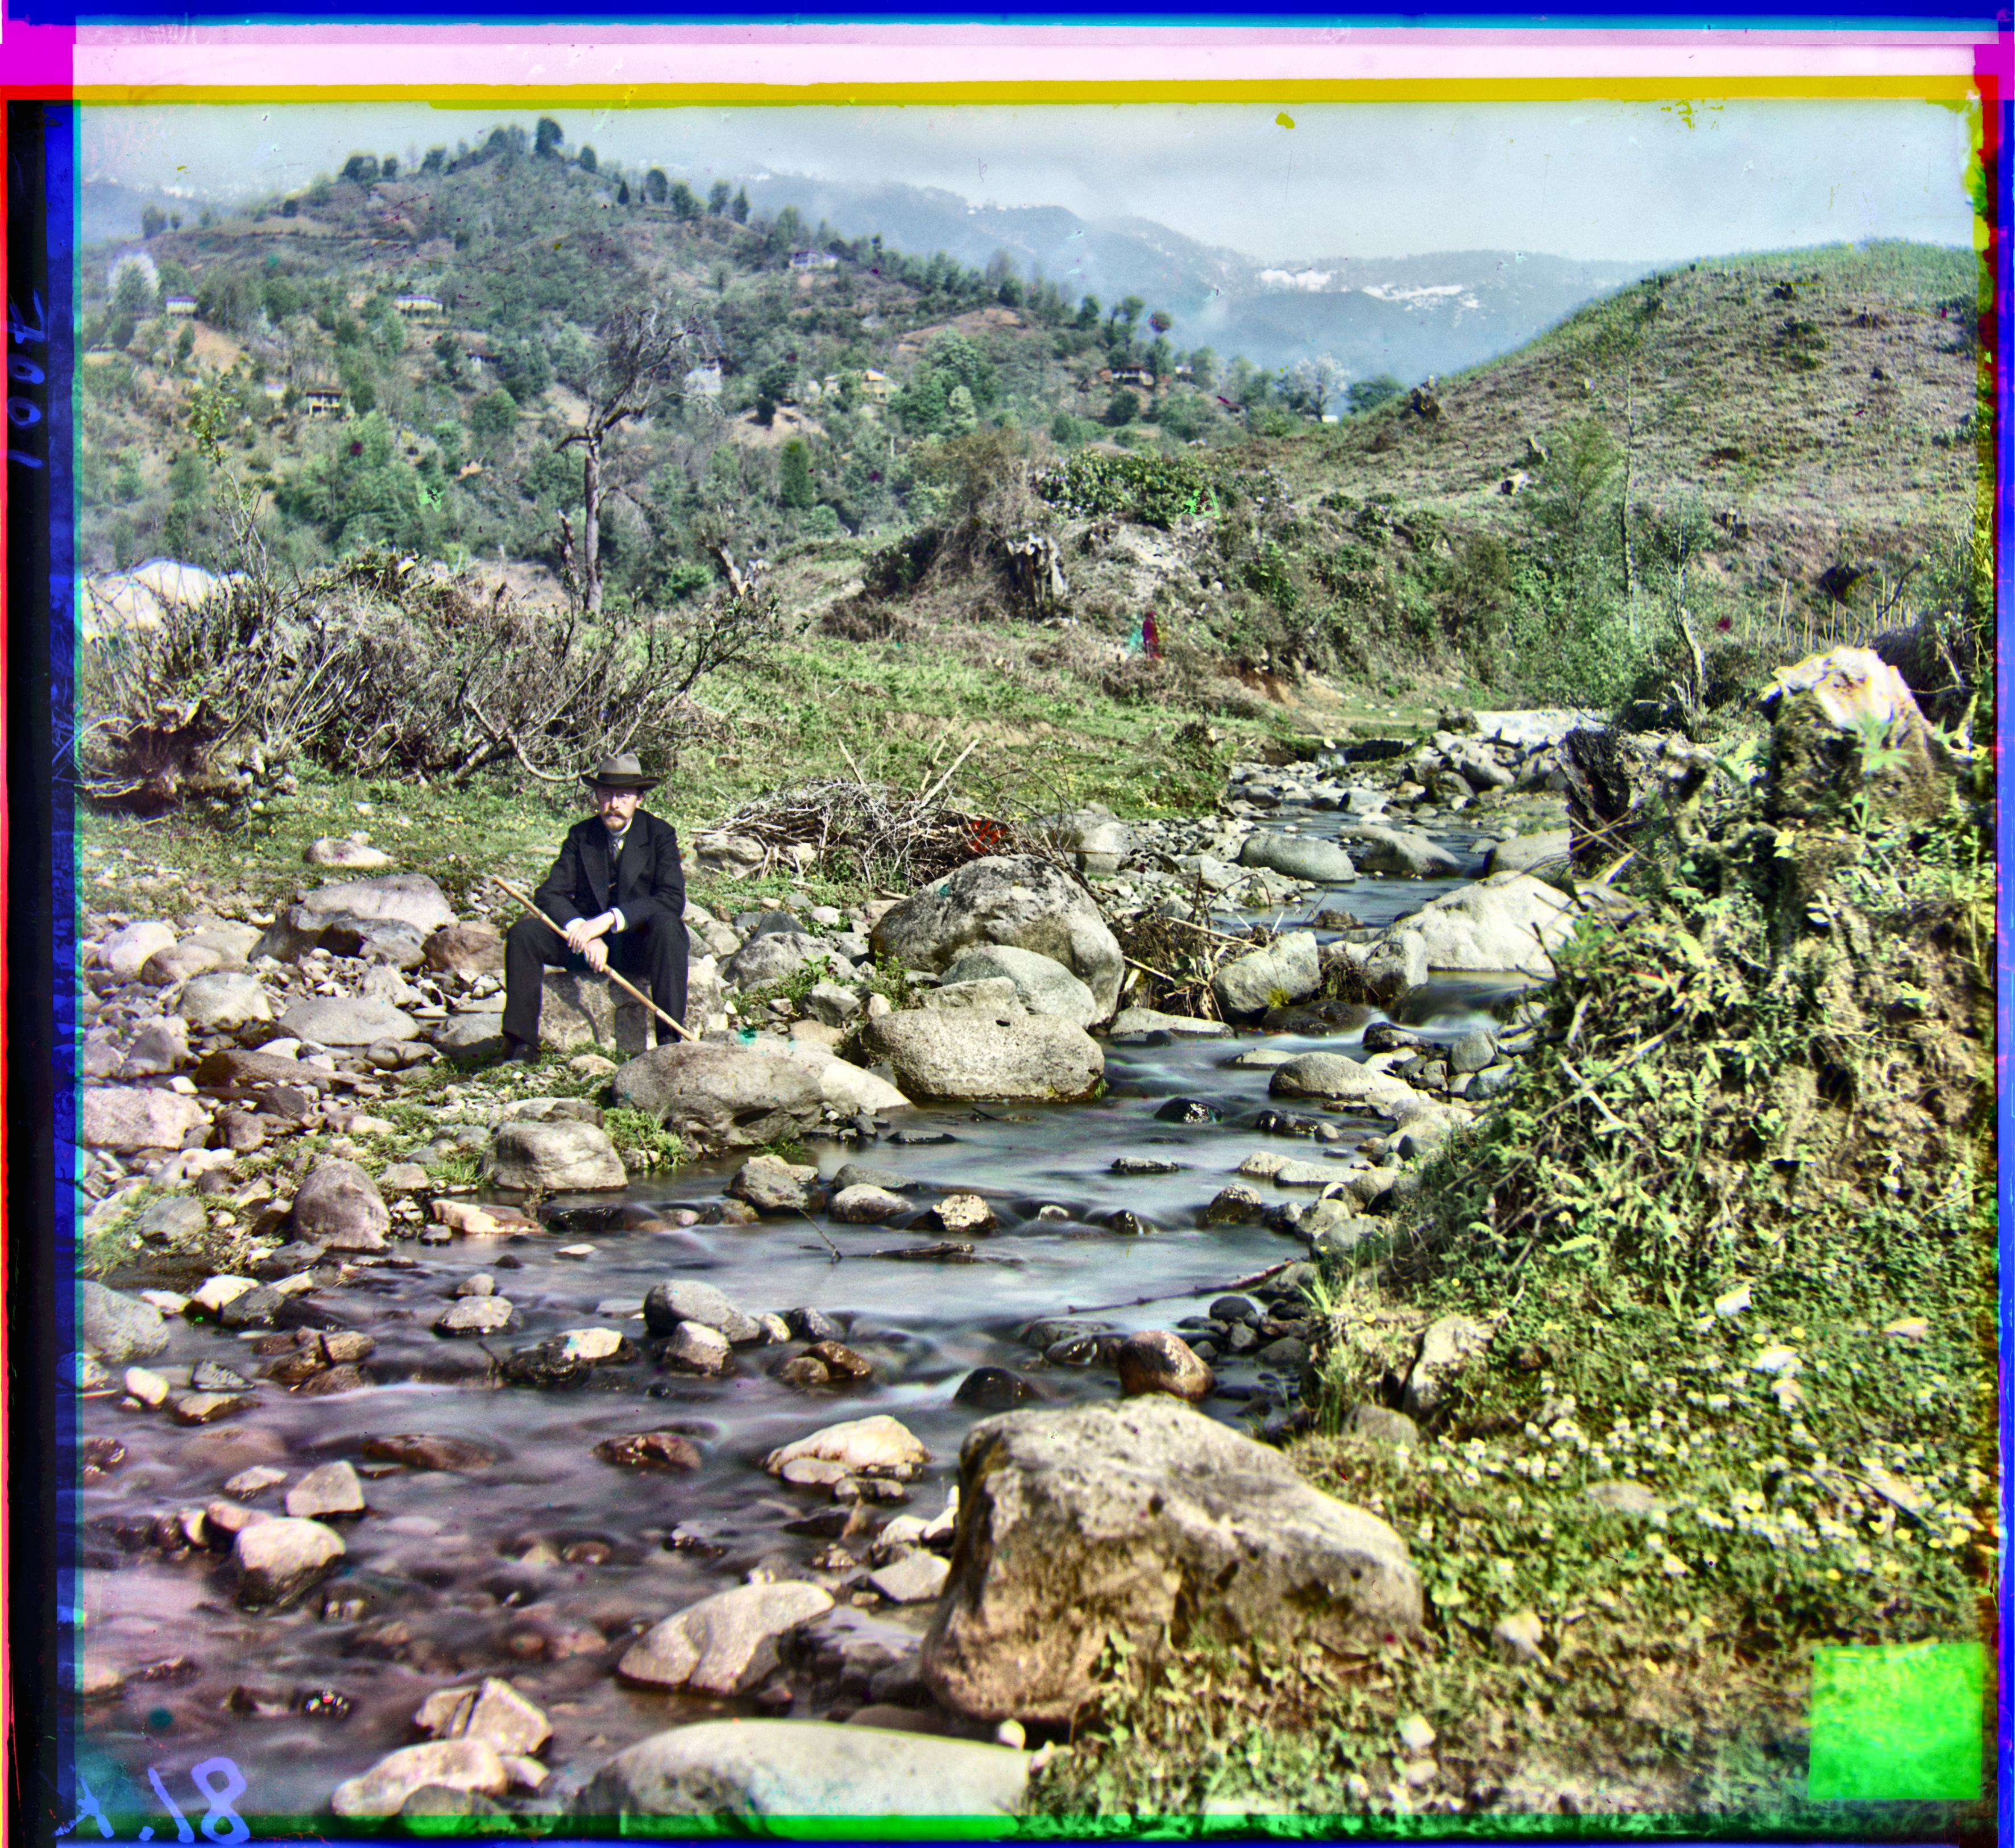
Overview of project
In this project, I developed three algorithms that tackle the task of image alignment similarly.
For handling smaller JPEG images with fewer pixels and smaller displacements, I used normal Mean Squared Error (MSE)
for each pixel in the middle part of the image (to ignore the edges), and then I shifted the image one pixel at a time
to find the best alignment. For larger images, this was not effective since the displacement could be way more than 15 pixels and therefor the search takes much longer, this and
that there is to many pixels to effectevily compare them, so I compressed the image using convolutions
with 3x3 kernels and a stride of three and performed average pooling. The choice of stride and kernel size to match was in order to compress the image effectively using every pixel only once.
This was done twice, compressing the image to be 1/81 the size of the original image.
After that, I found the best alignment using the same algorithm as for the JPEGs.
Moving up a level in the pyramid, I shifted the image based on the findings at the lower level and repeated,
now the image was 1/9 the size of the original image, which resulted in a better match. The final shift was
then done on the original image to get the best possible alignment. For some images, pixel-based alignment was
not sufficient, so I developed an algorithm based on edges and features instead, using a Sobel filter followed
by the same pyramid alignment procedure. This worked well, and the results are presented below.
After the image alignment, I also made some automatic refinements to enhance the final image First, I cropped the image to remove the edges of the frame, which often contain unwanted color artifacts or white spaces. This was achieved by removing rows and columns with low variance compared to the rest of the image, ensuring that only the significant portion of the image is retained. However finding a good threshold
of minimum variance to remove was difficult since it varied from picture to picture and so I settled on removing rows and columns with variance lower than 25% of the variance of the entire picture. This worked best in the general case of edge removal.
After cropping, I boosted the contrast using CLAHE (Contrast Limited Adaptive Histogram Equalization), like recommended in the course literature. Instead of blurring like the Gaussian filter which I tried at first, CLAHE enhances the image by adjusting the contrast in small sections, making details stand out more in low-contrast areas.
It also limits the contrast boost to avoid over-enhancing, using a clipLimit parameter to control how much contrast is added in each part. This keeps the overall contrast balanced while highlighting finer details. Finally, I made sure the pixel values stay within a valid range to preserve the color and look of the image.
Sobel filter when pixel comparison does not work
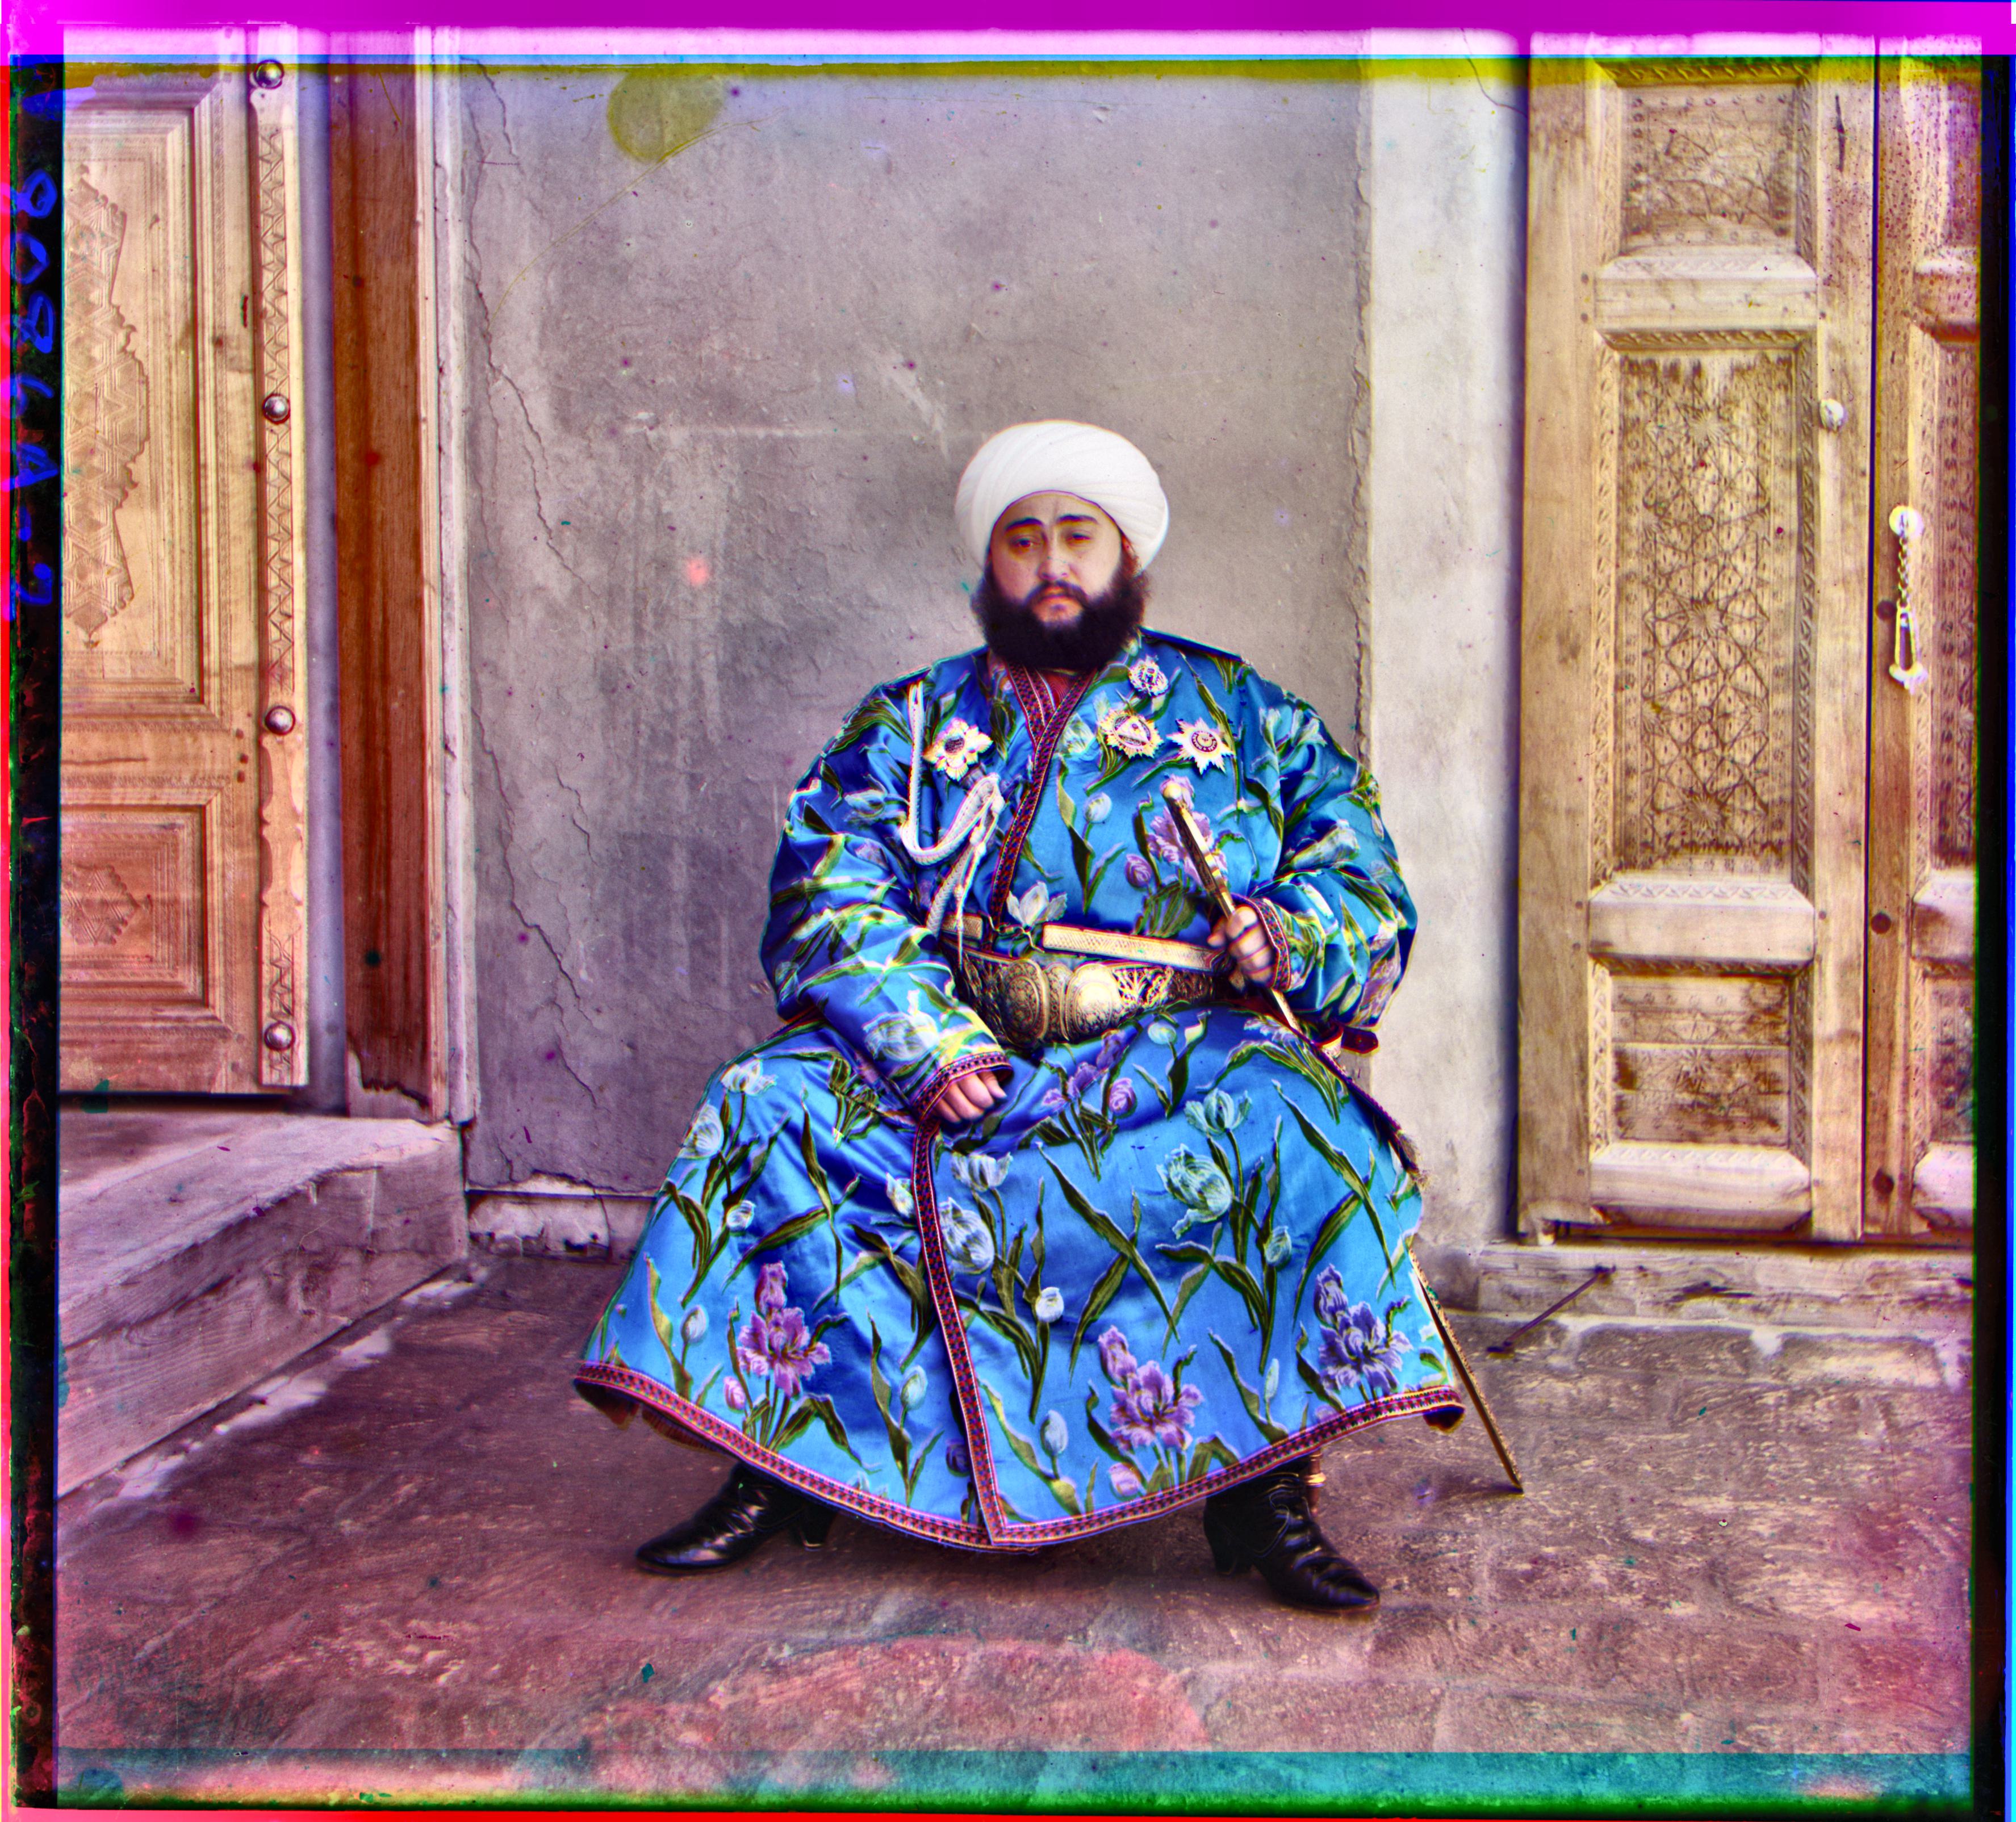
When just plain pixel comparison does not work as in the case of Emir due to difference in intensity of the images, we have to try another approach to align the images.
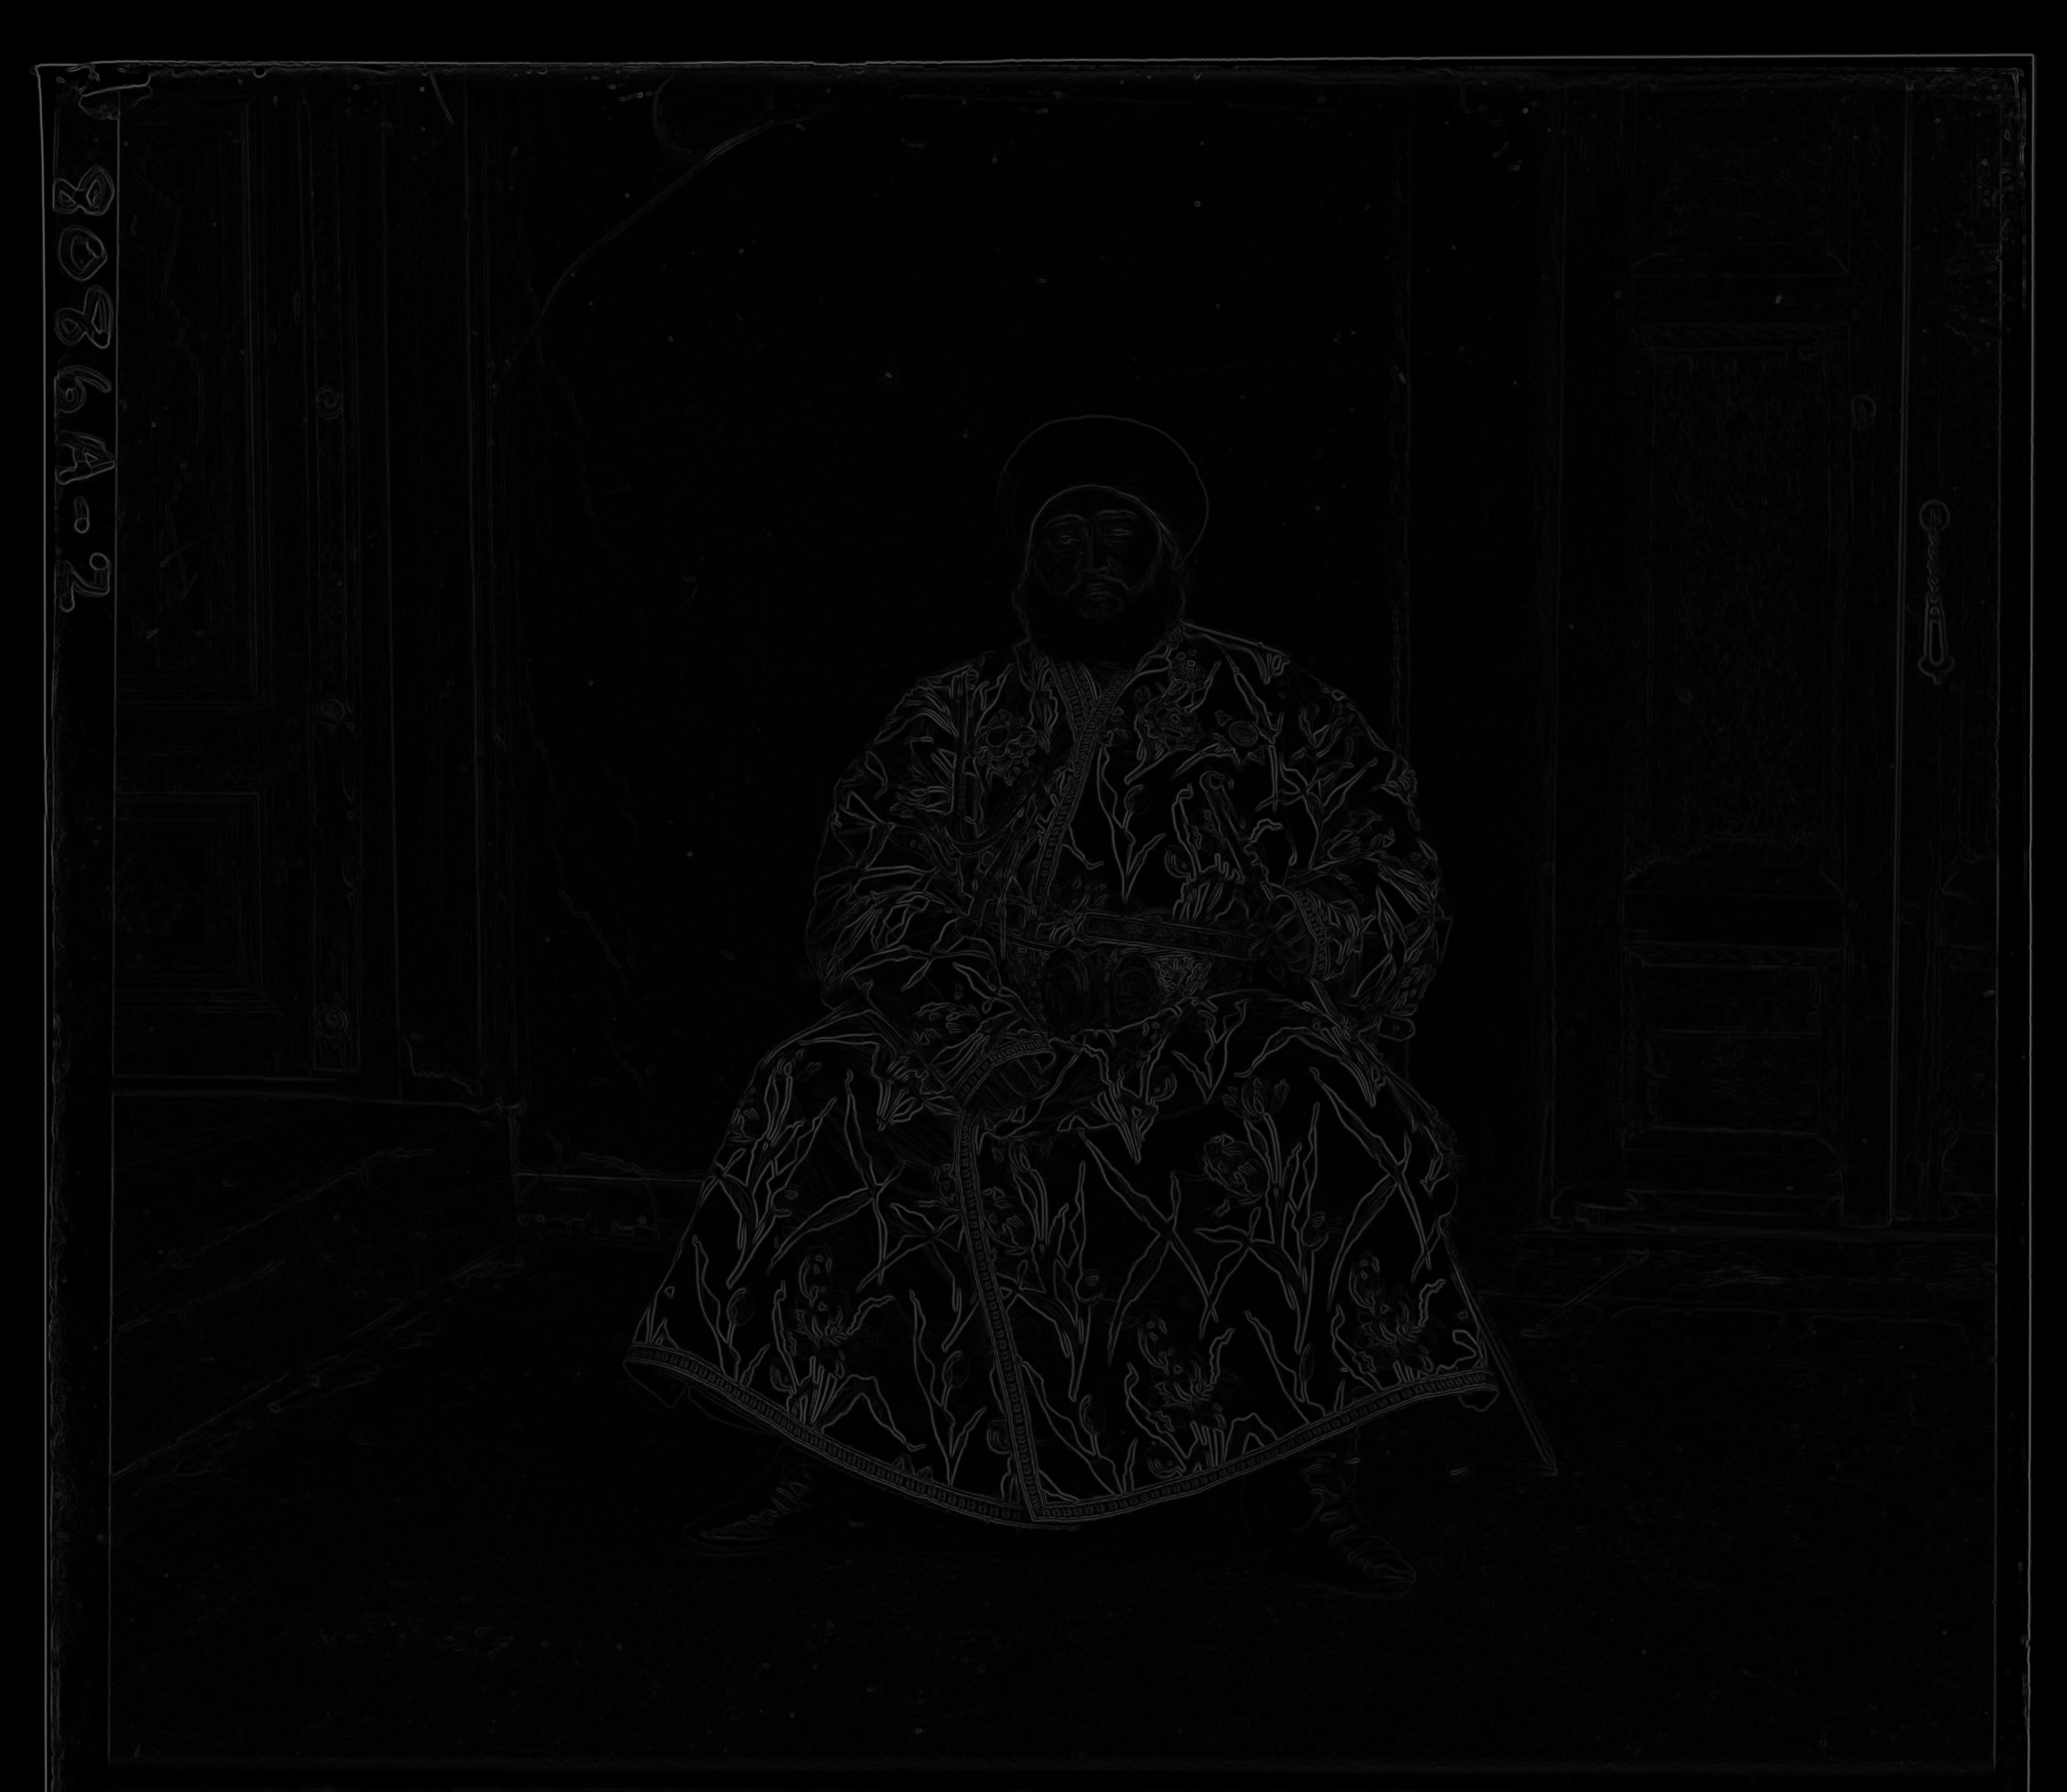
Instead we compare edges in the pictures, in order to do this we have to extract the edges in the images. This is done by letting the image pass through a sobel filter after passing through a gaussian filter which produces an image highlighting the edges in the picture
which works the same for all images invariant to the intensity of the pictures. When the edge focused images are extracted I perform the pyramid alignment algorithm and it works fine aligning the pictures well, however not as
perfect as the pyramid alignment on the processed images. Below image illustrating the results from letting an image pass through the sobel filter.
TIF Image after passing through the sobel filter
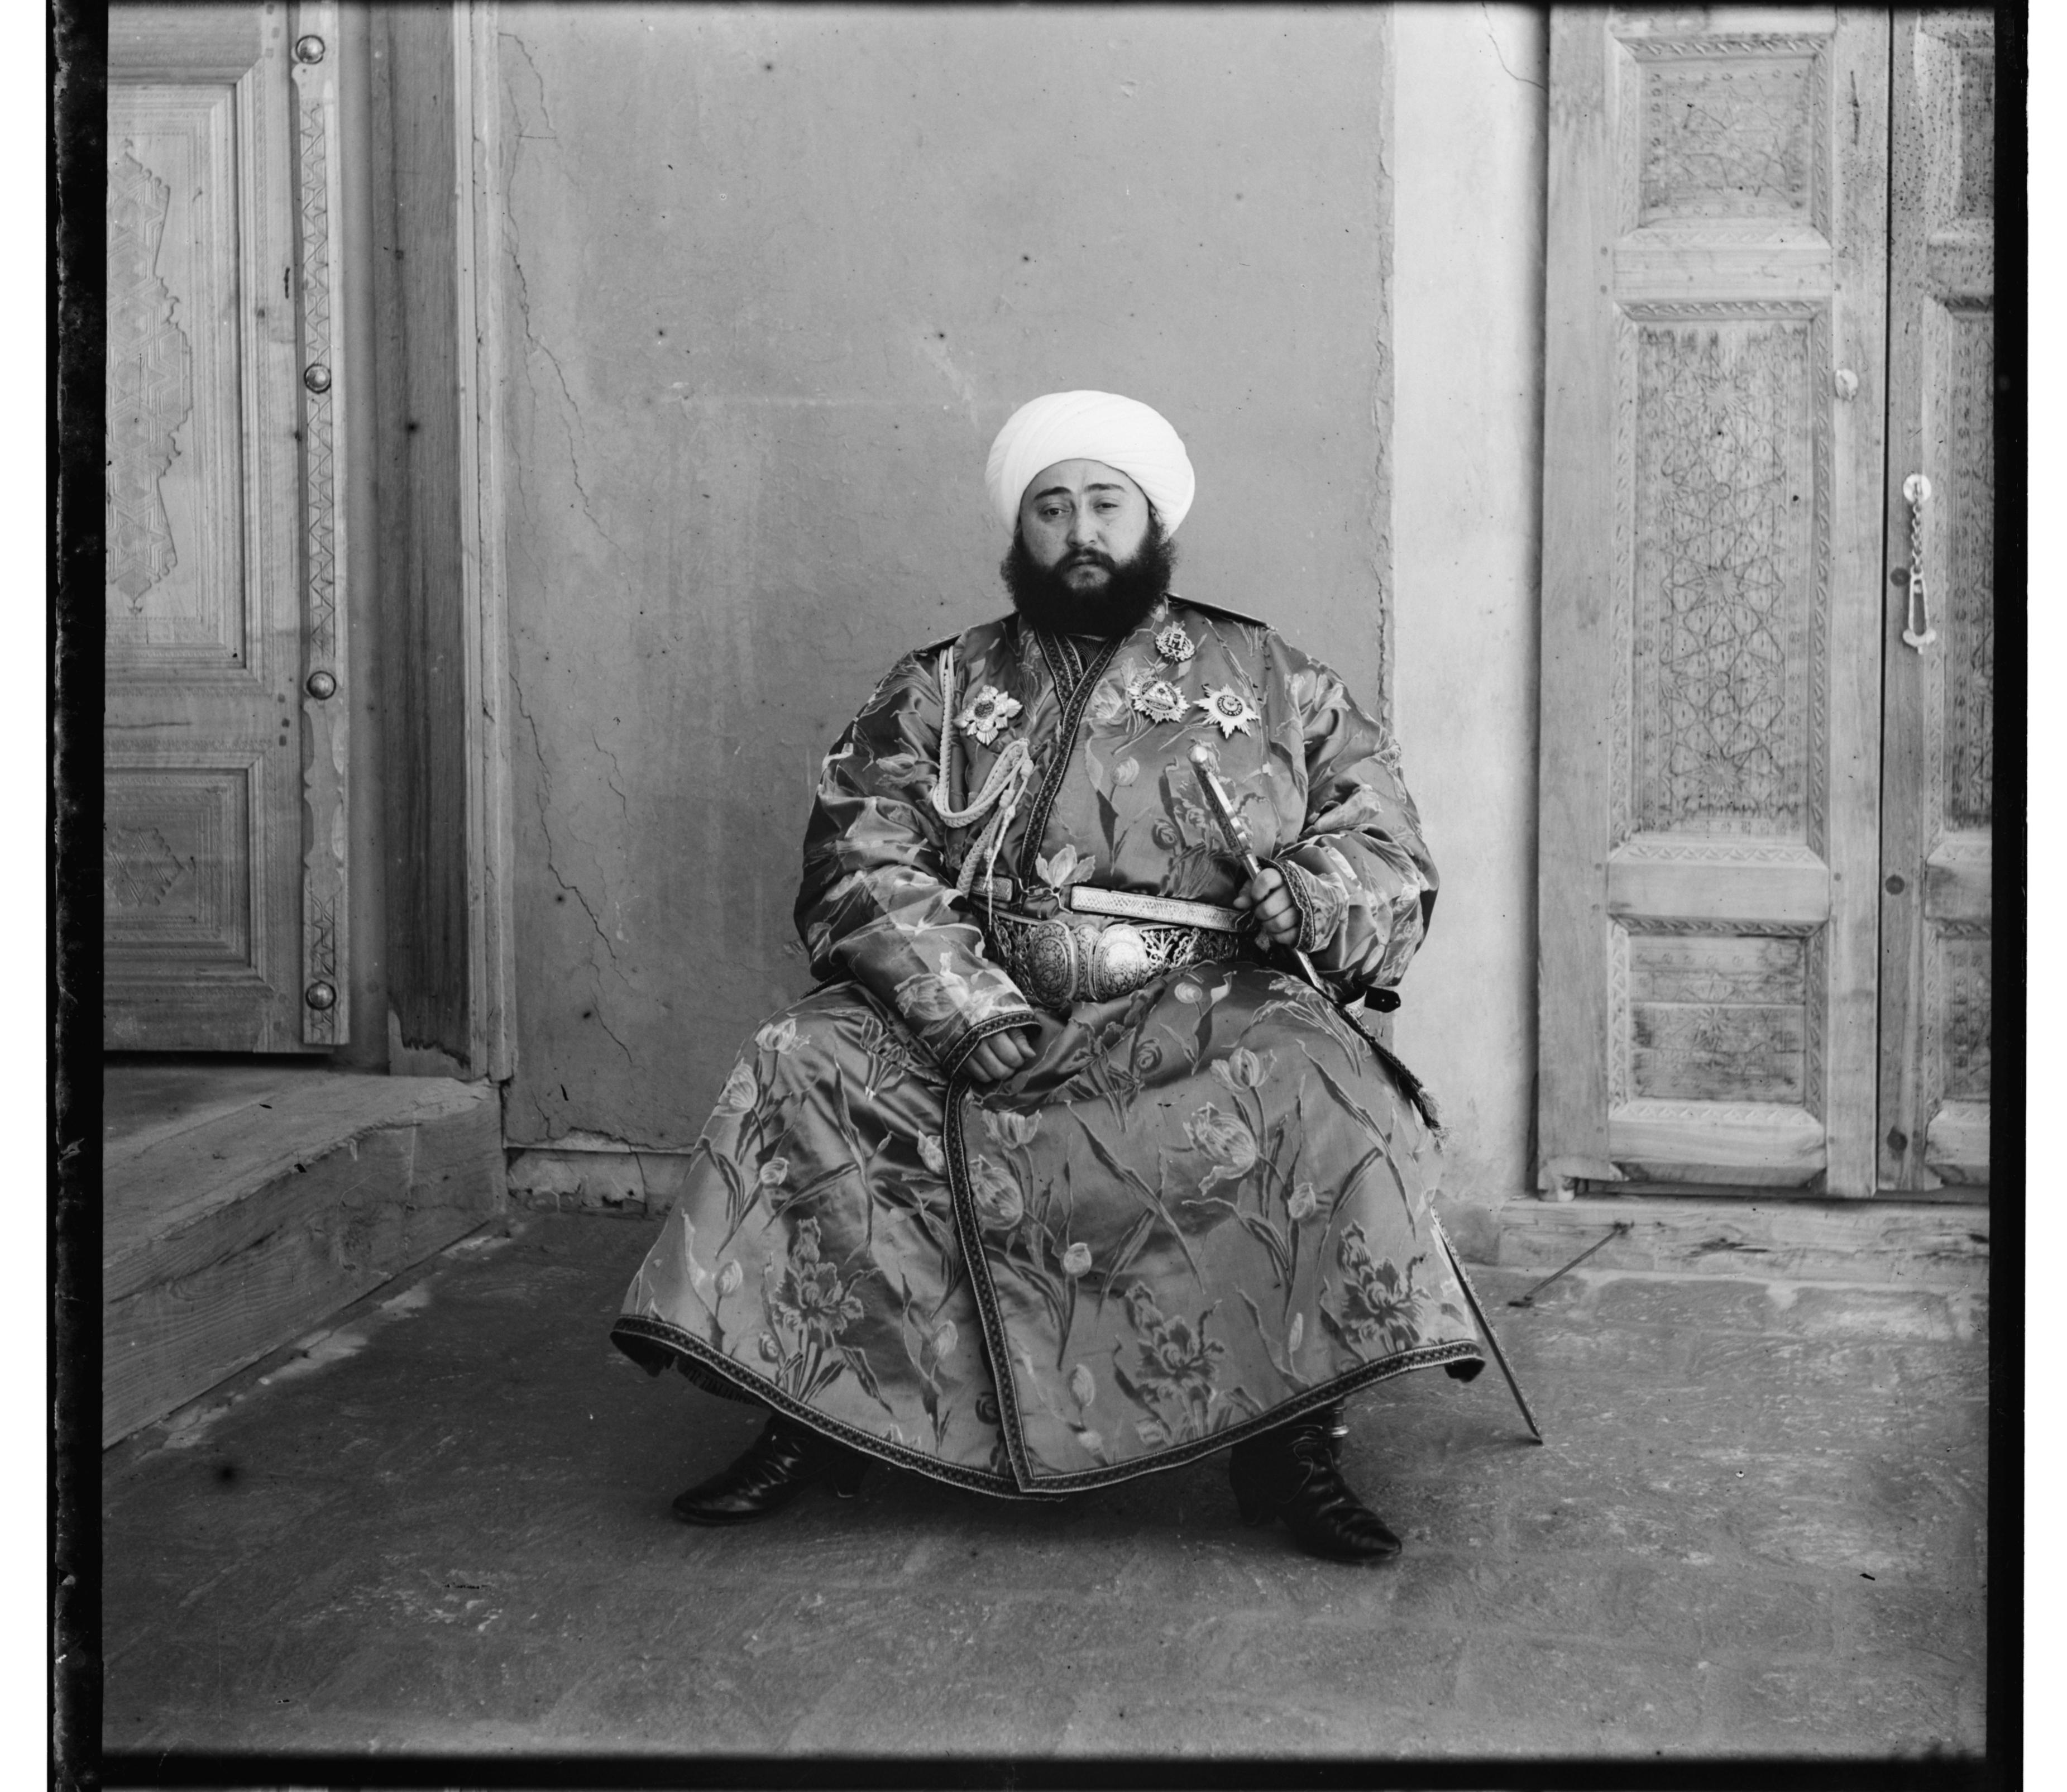
The images above show the preprocessed image after applying the Sobel filter (left) and the green channel of the image (right). Notice how the edges in the left image are lit up, which helps during alignment.
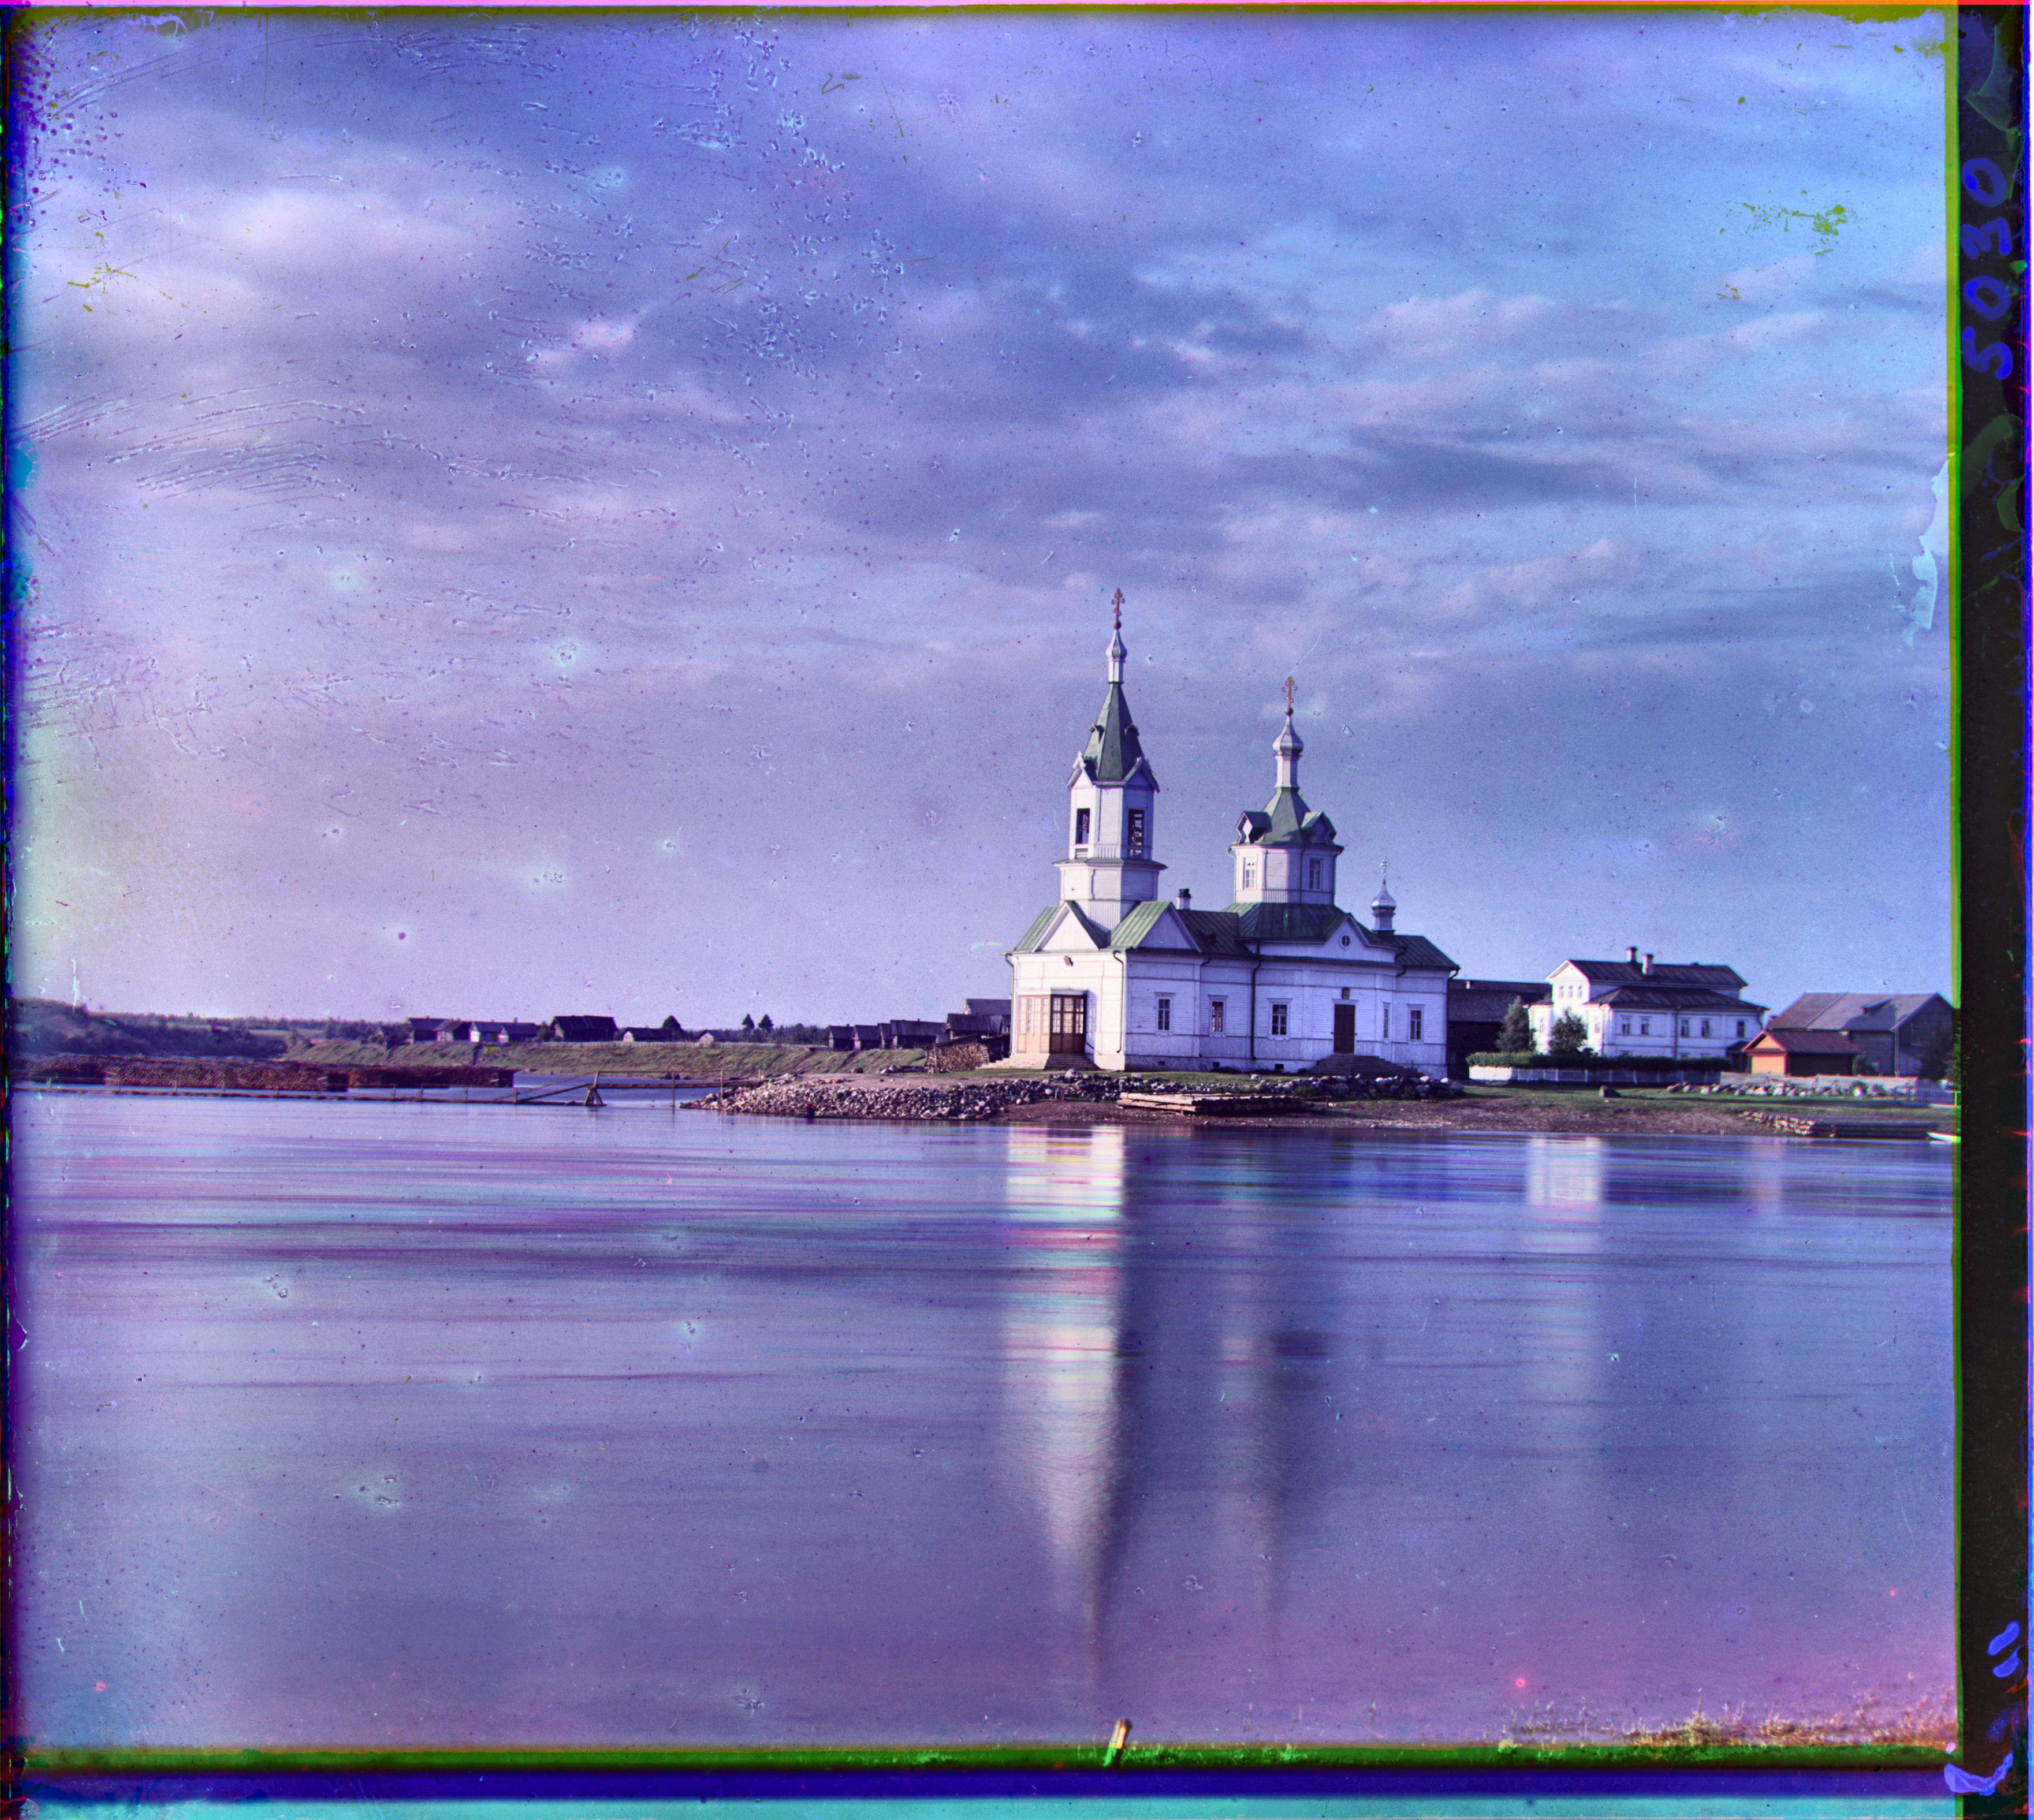
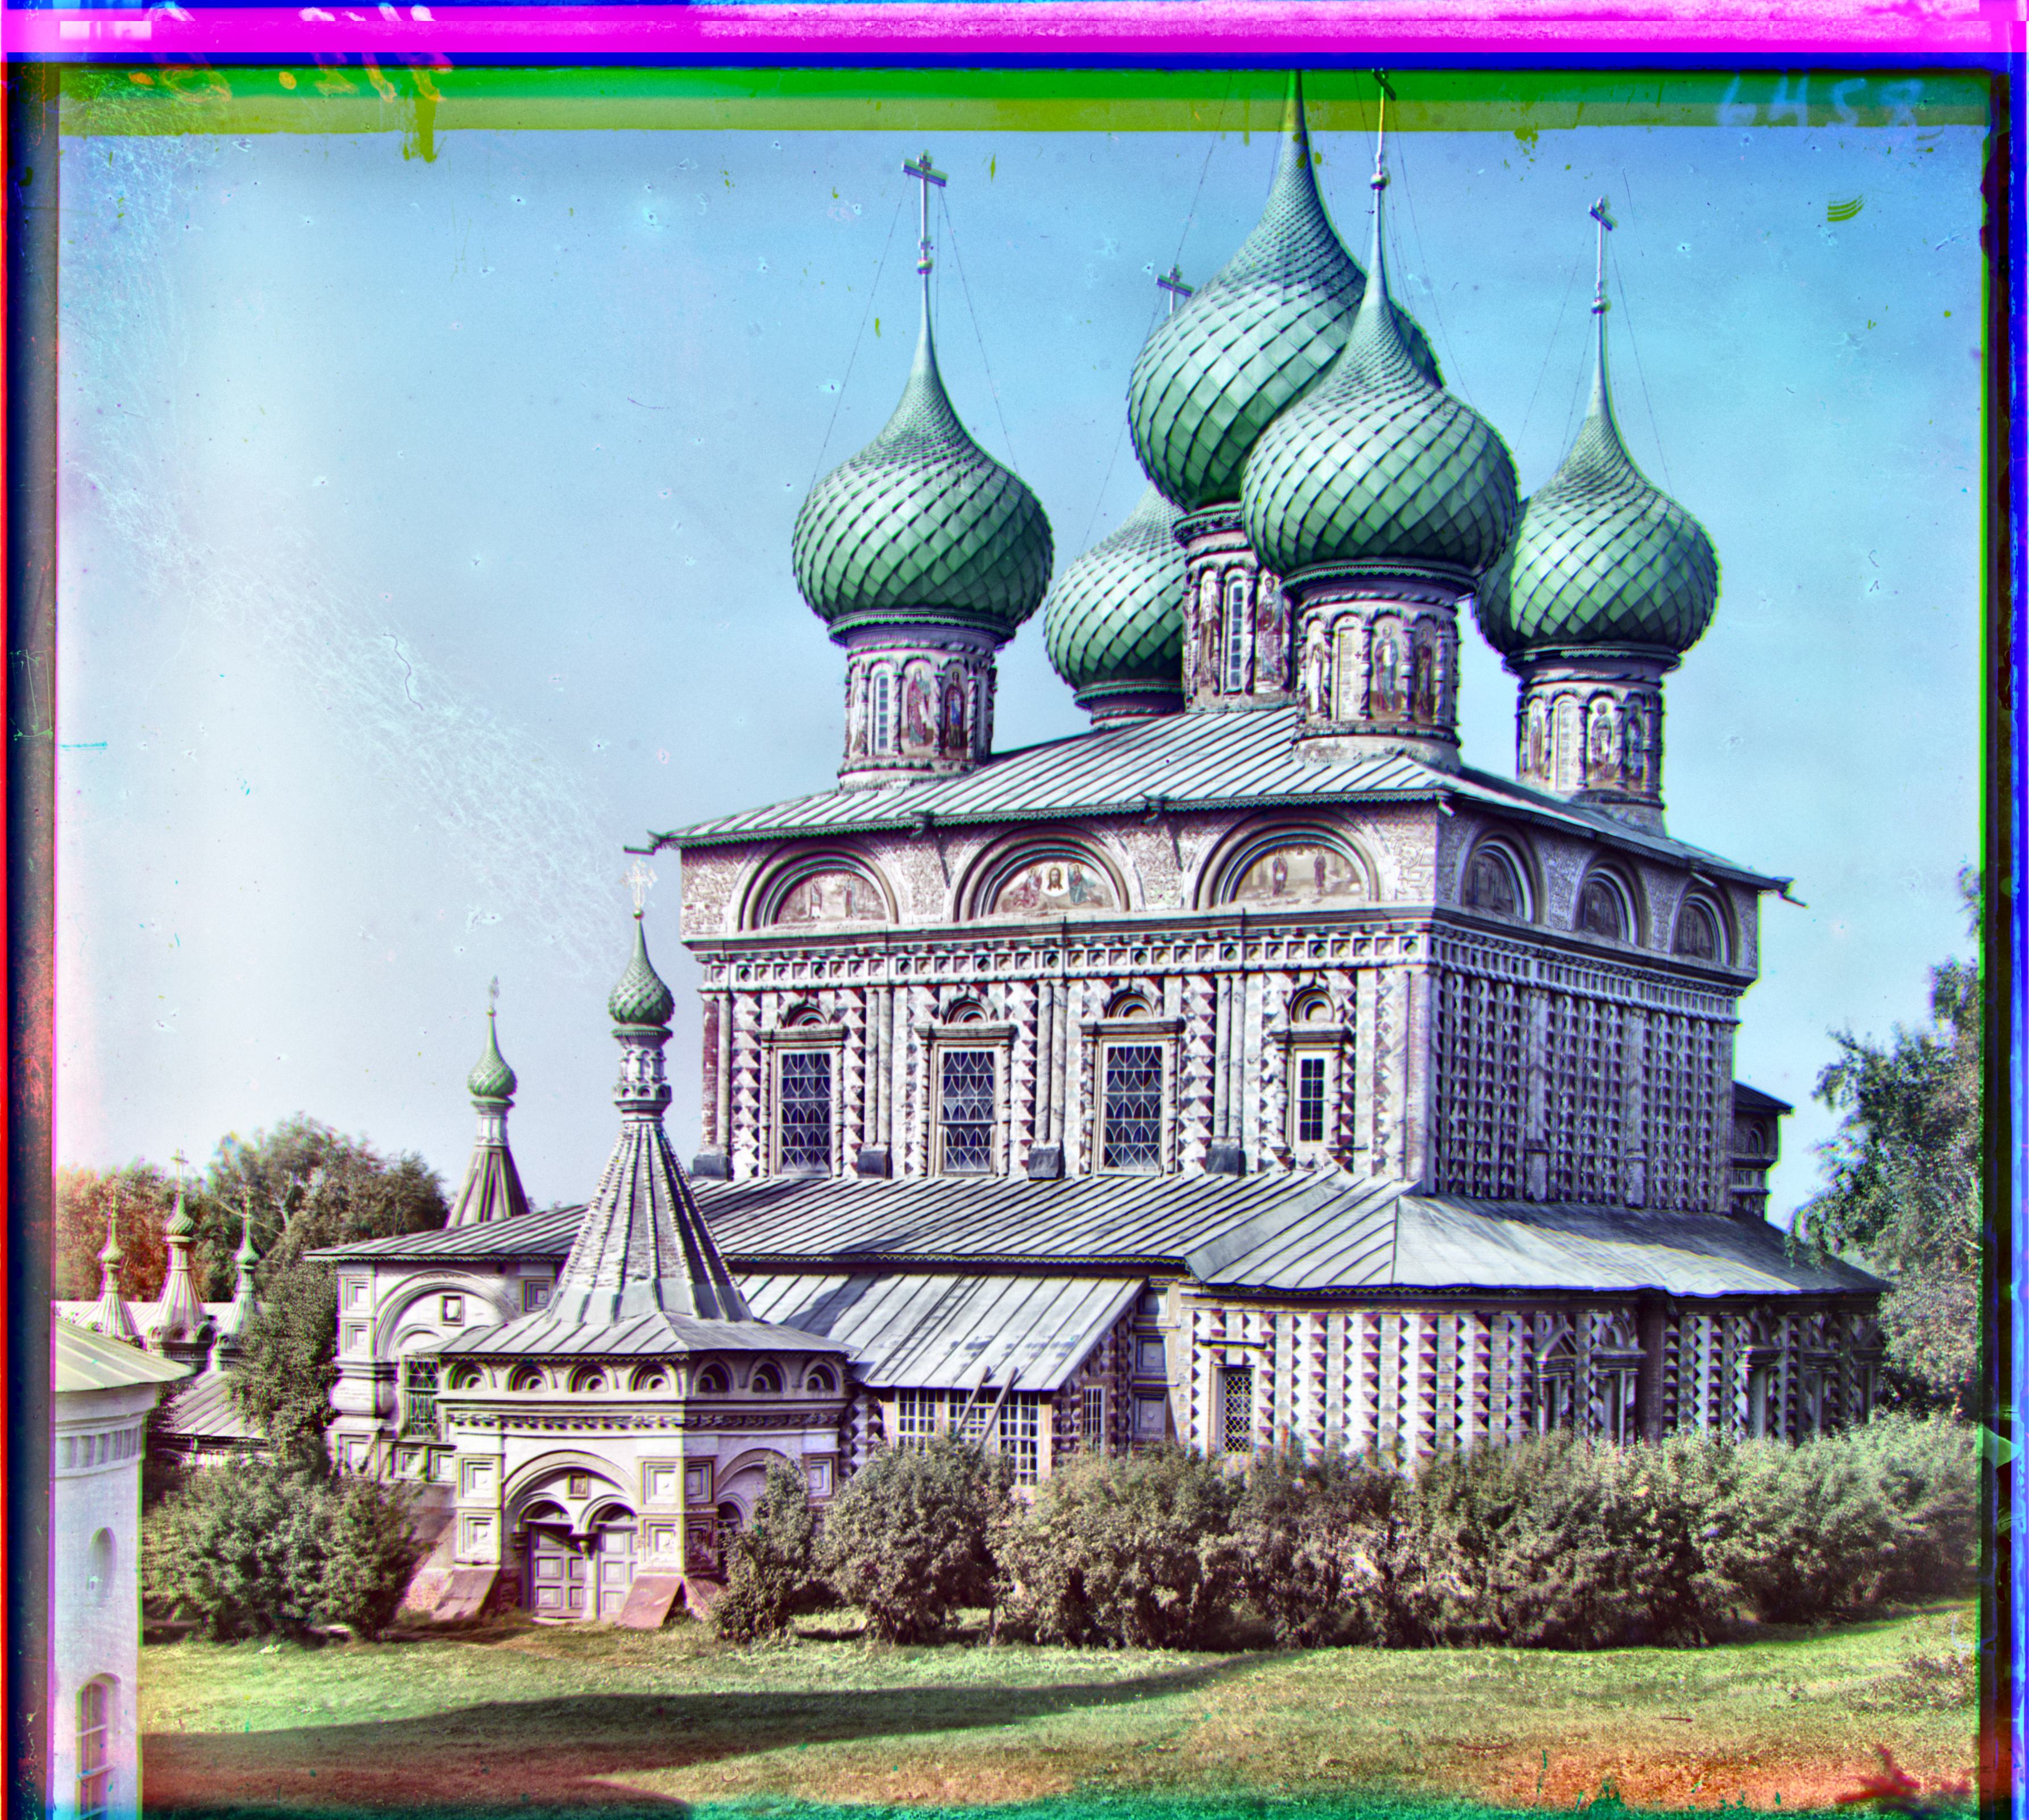
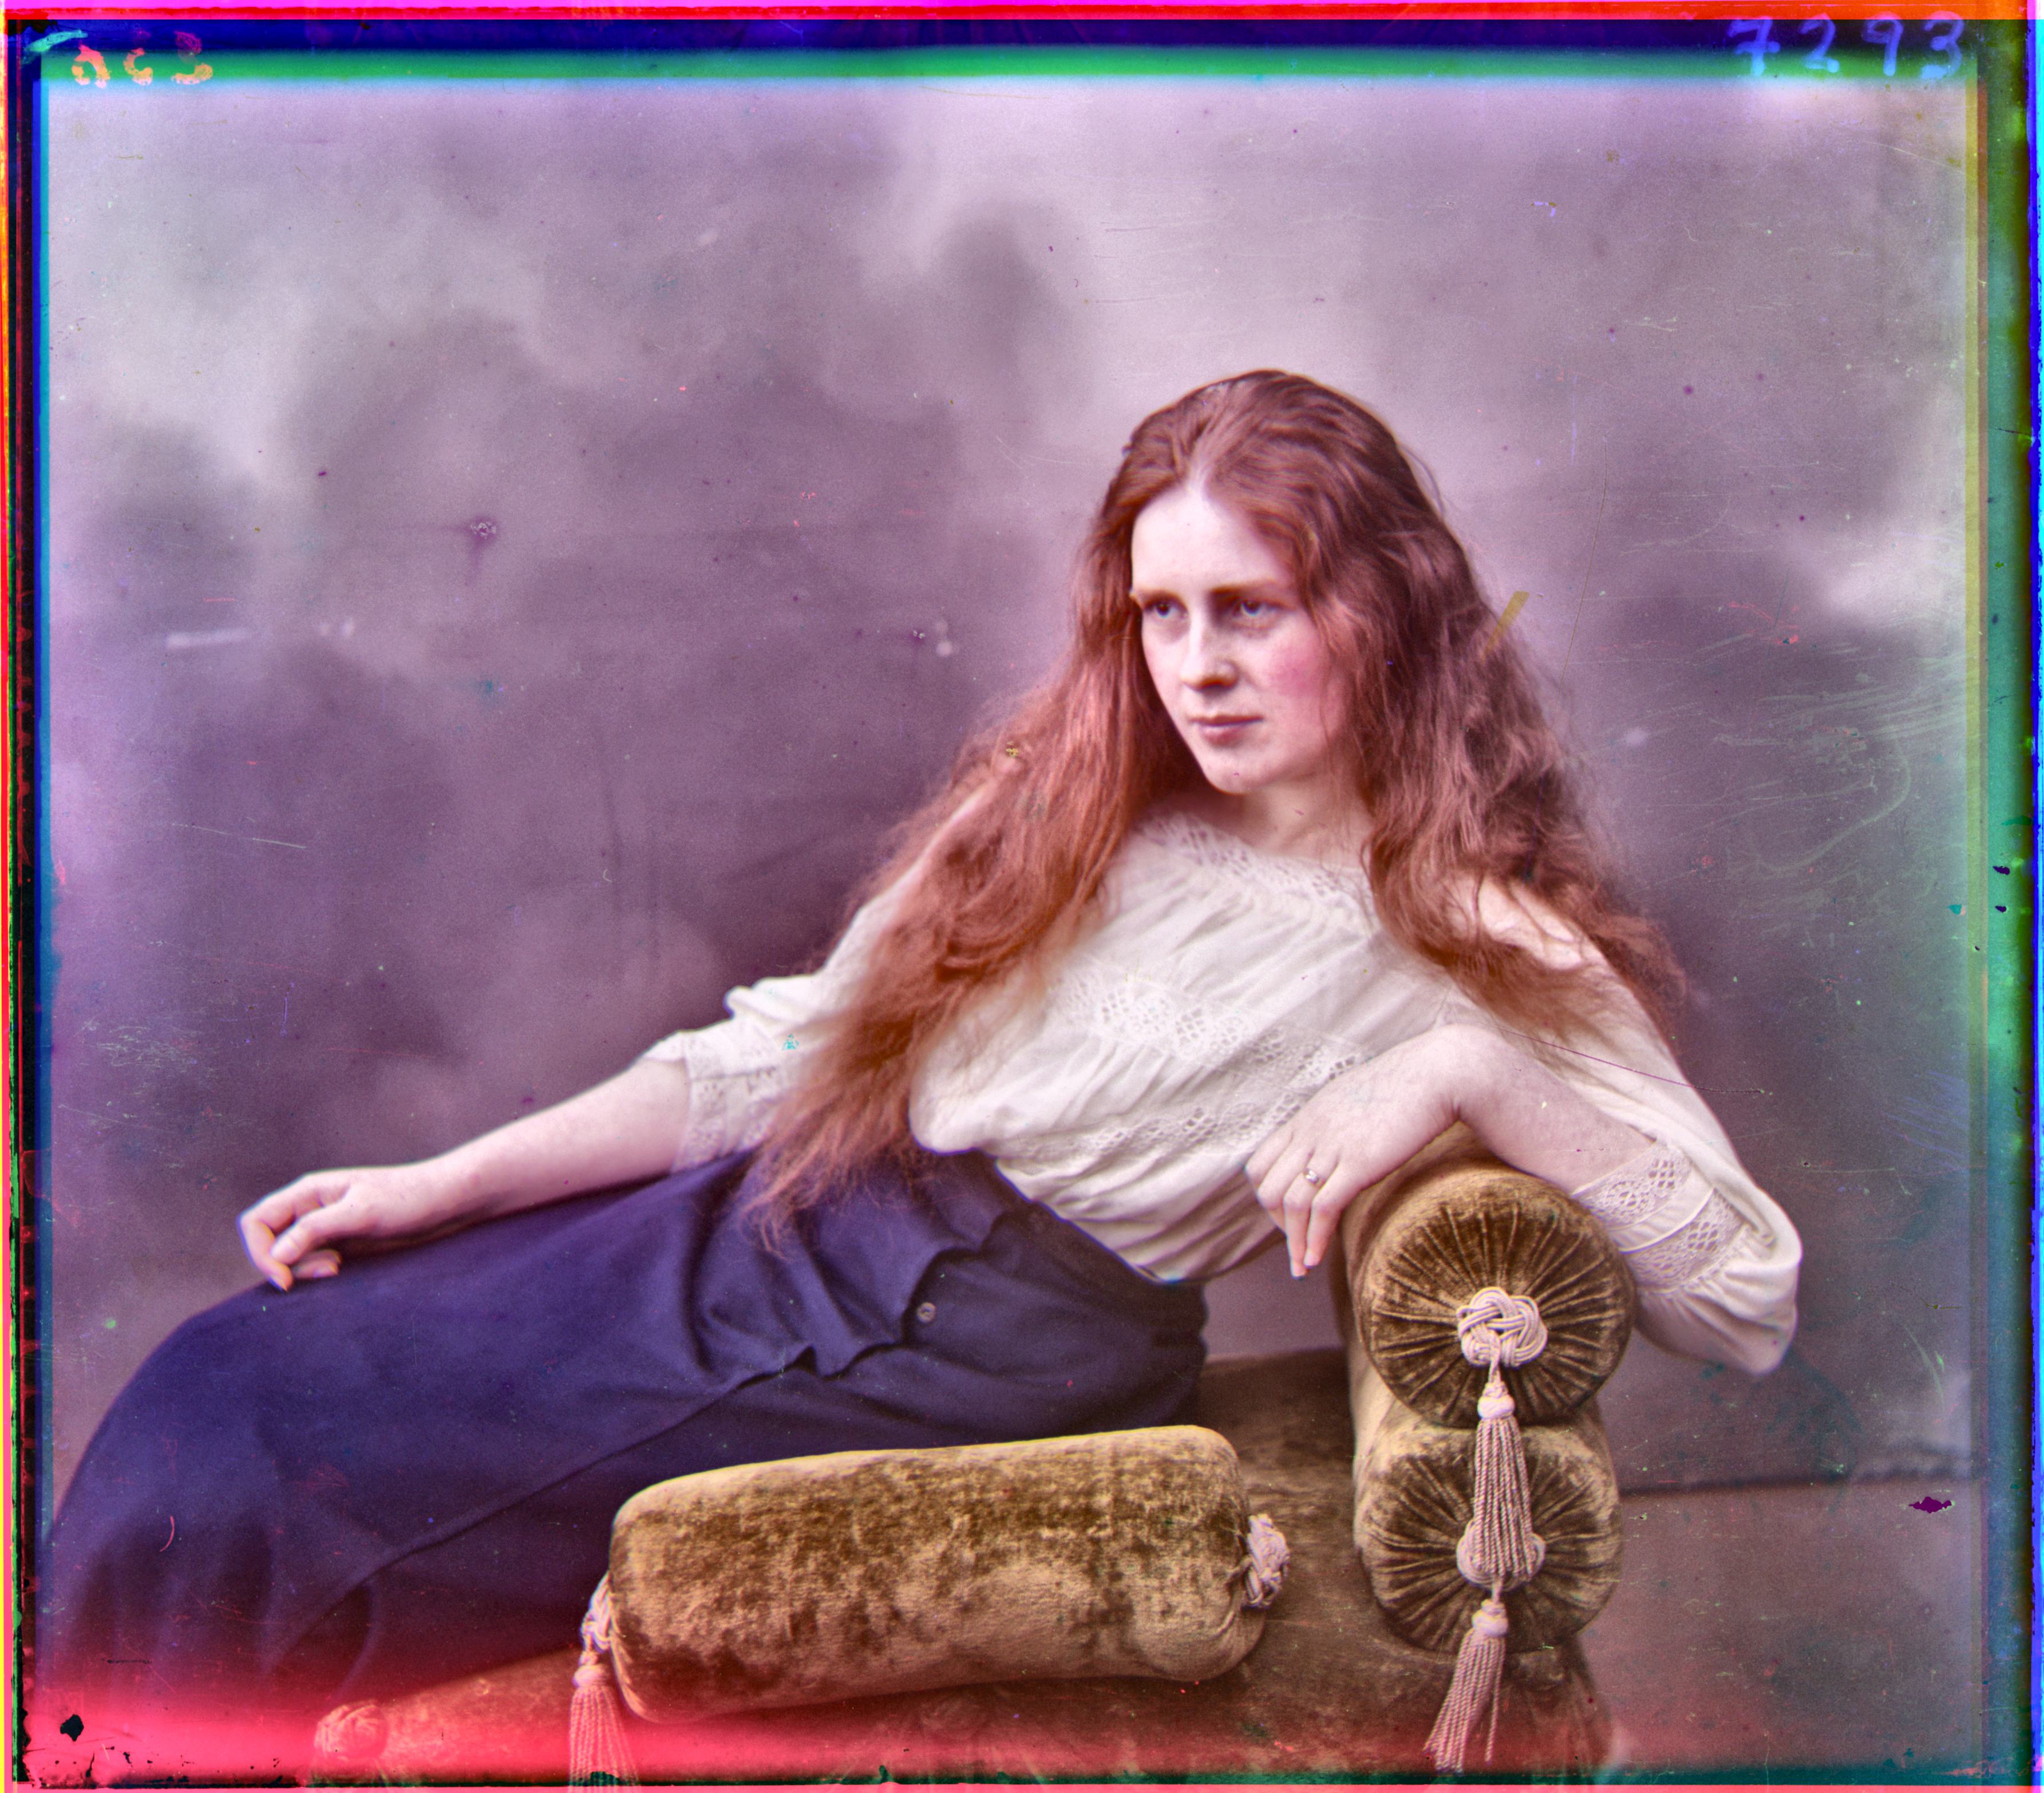
TIF Image after contrast enhancement
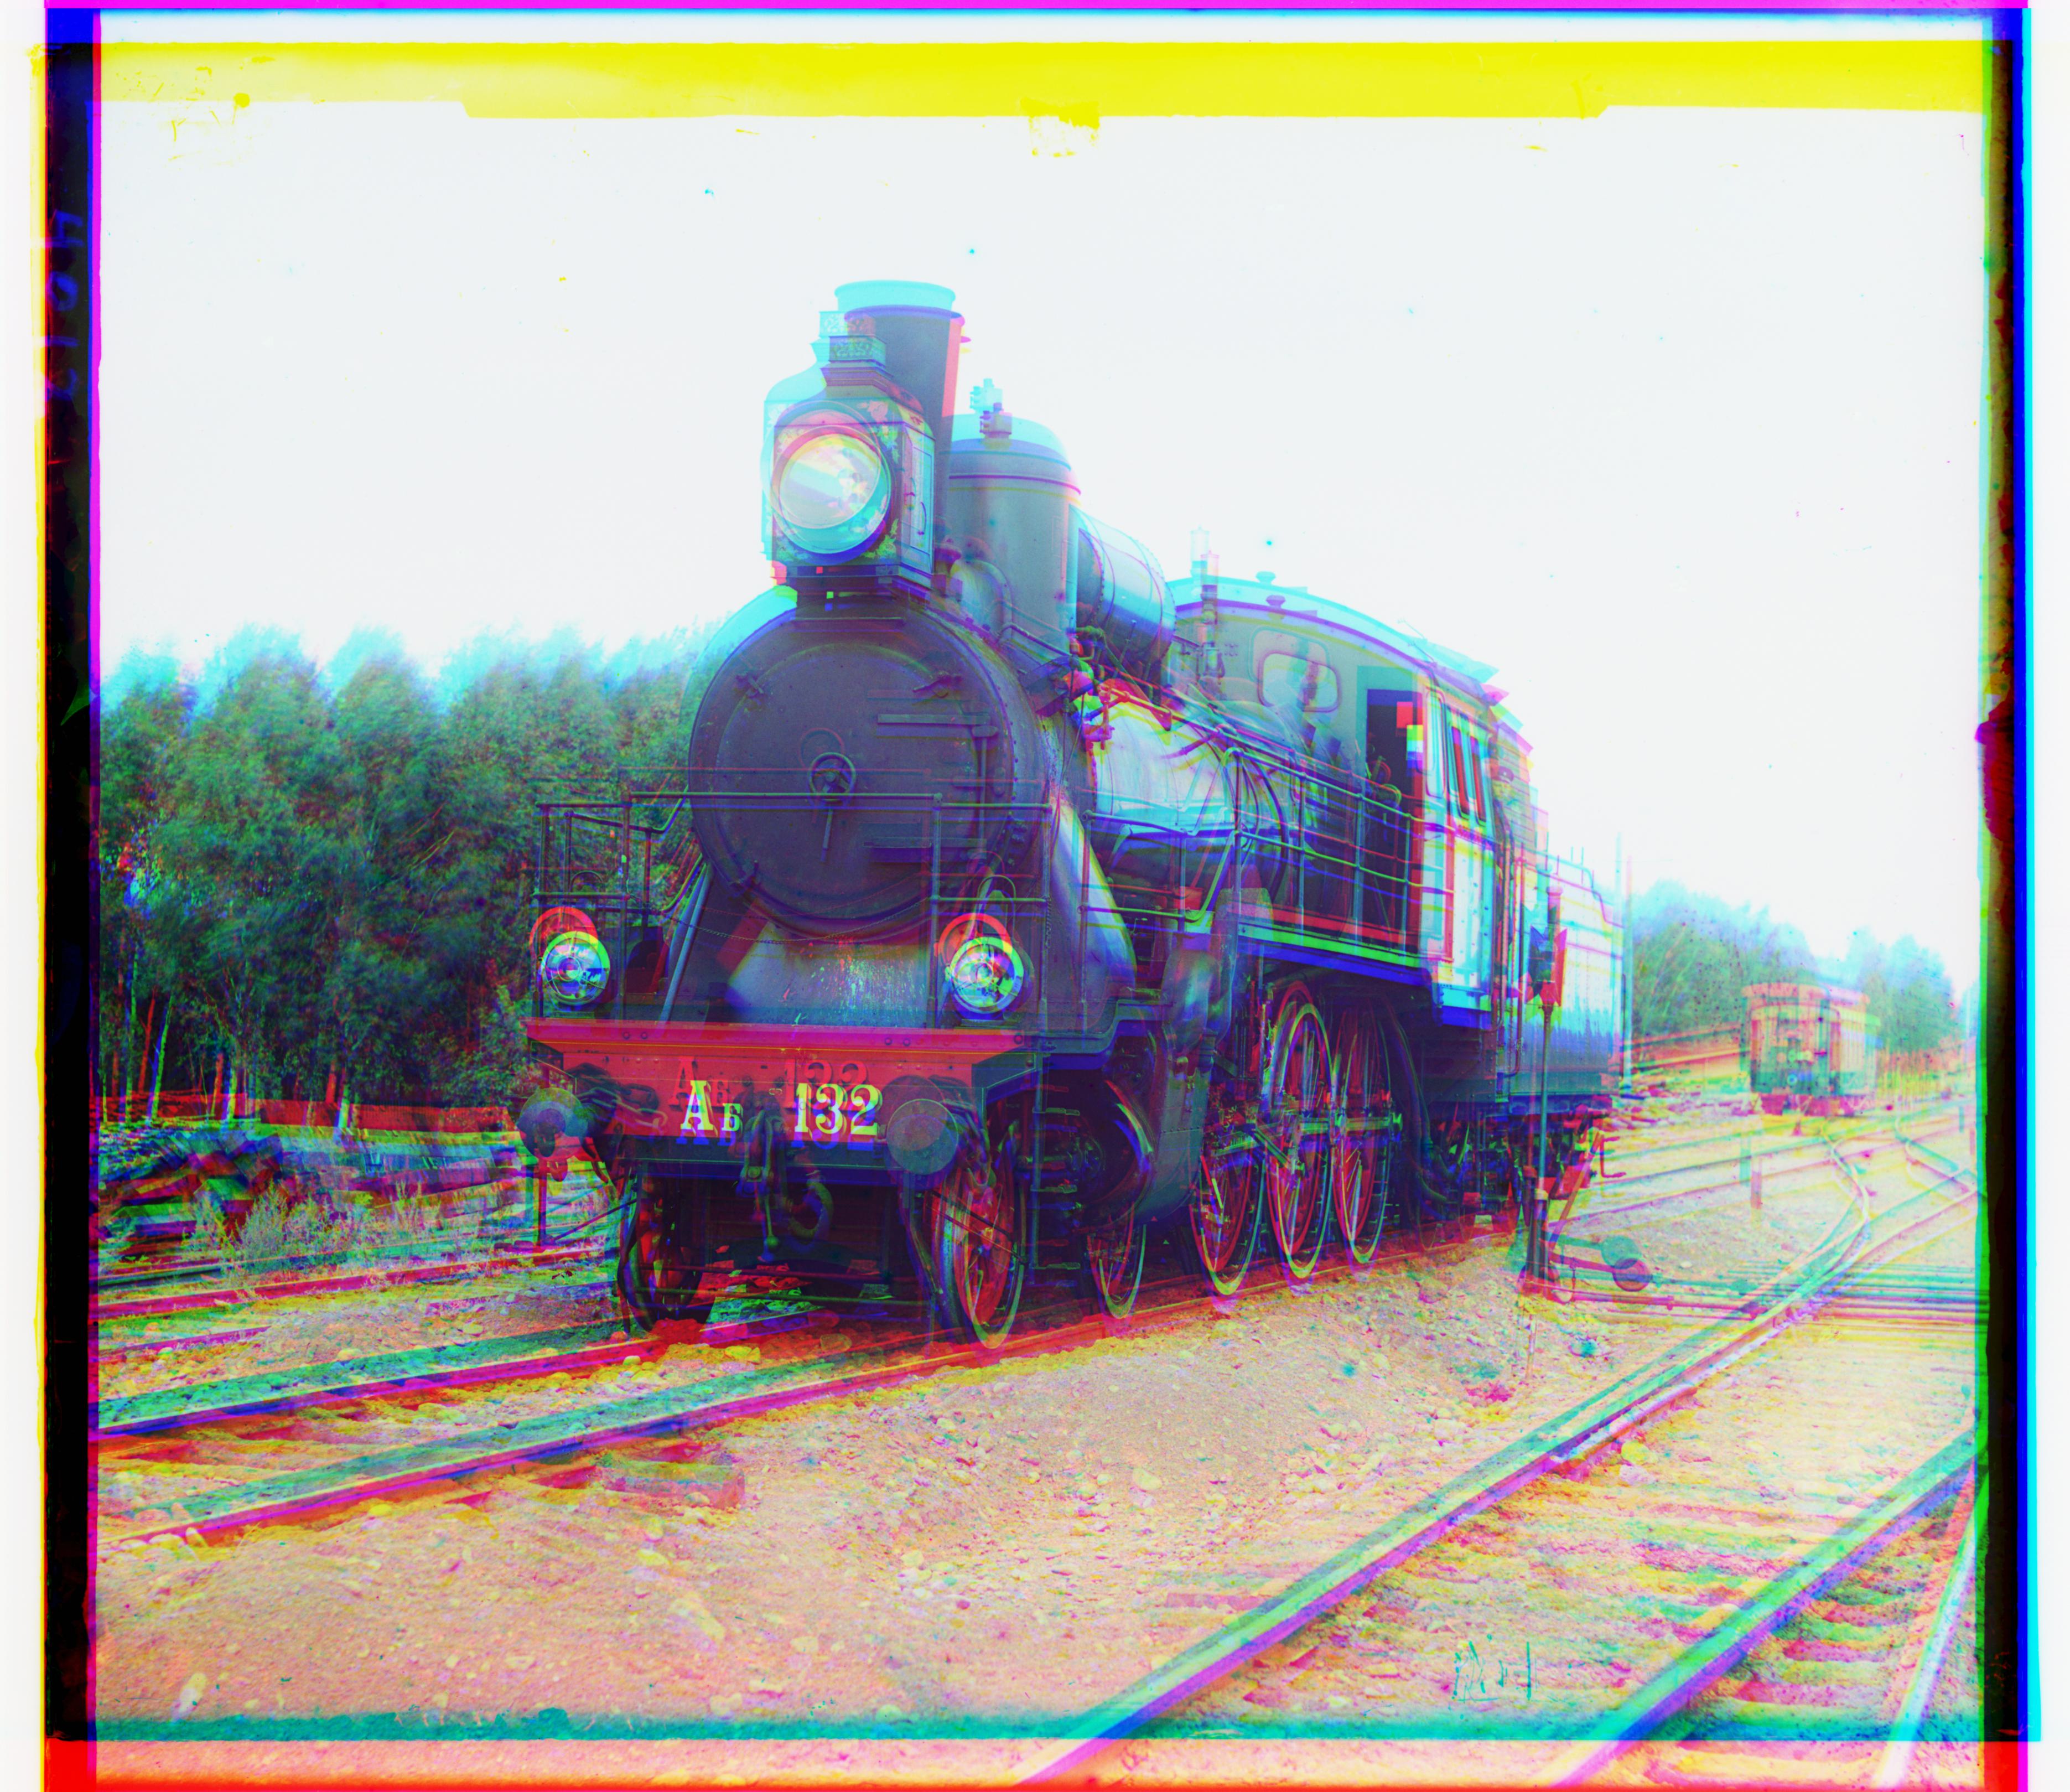
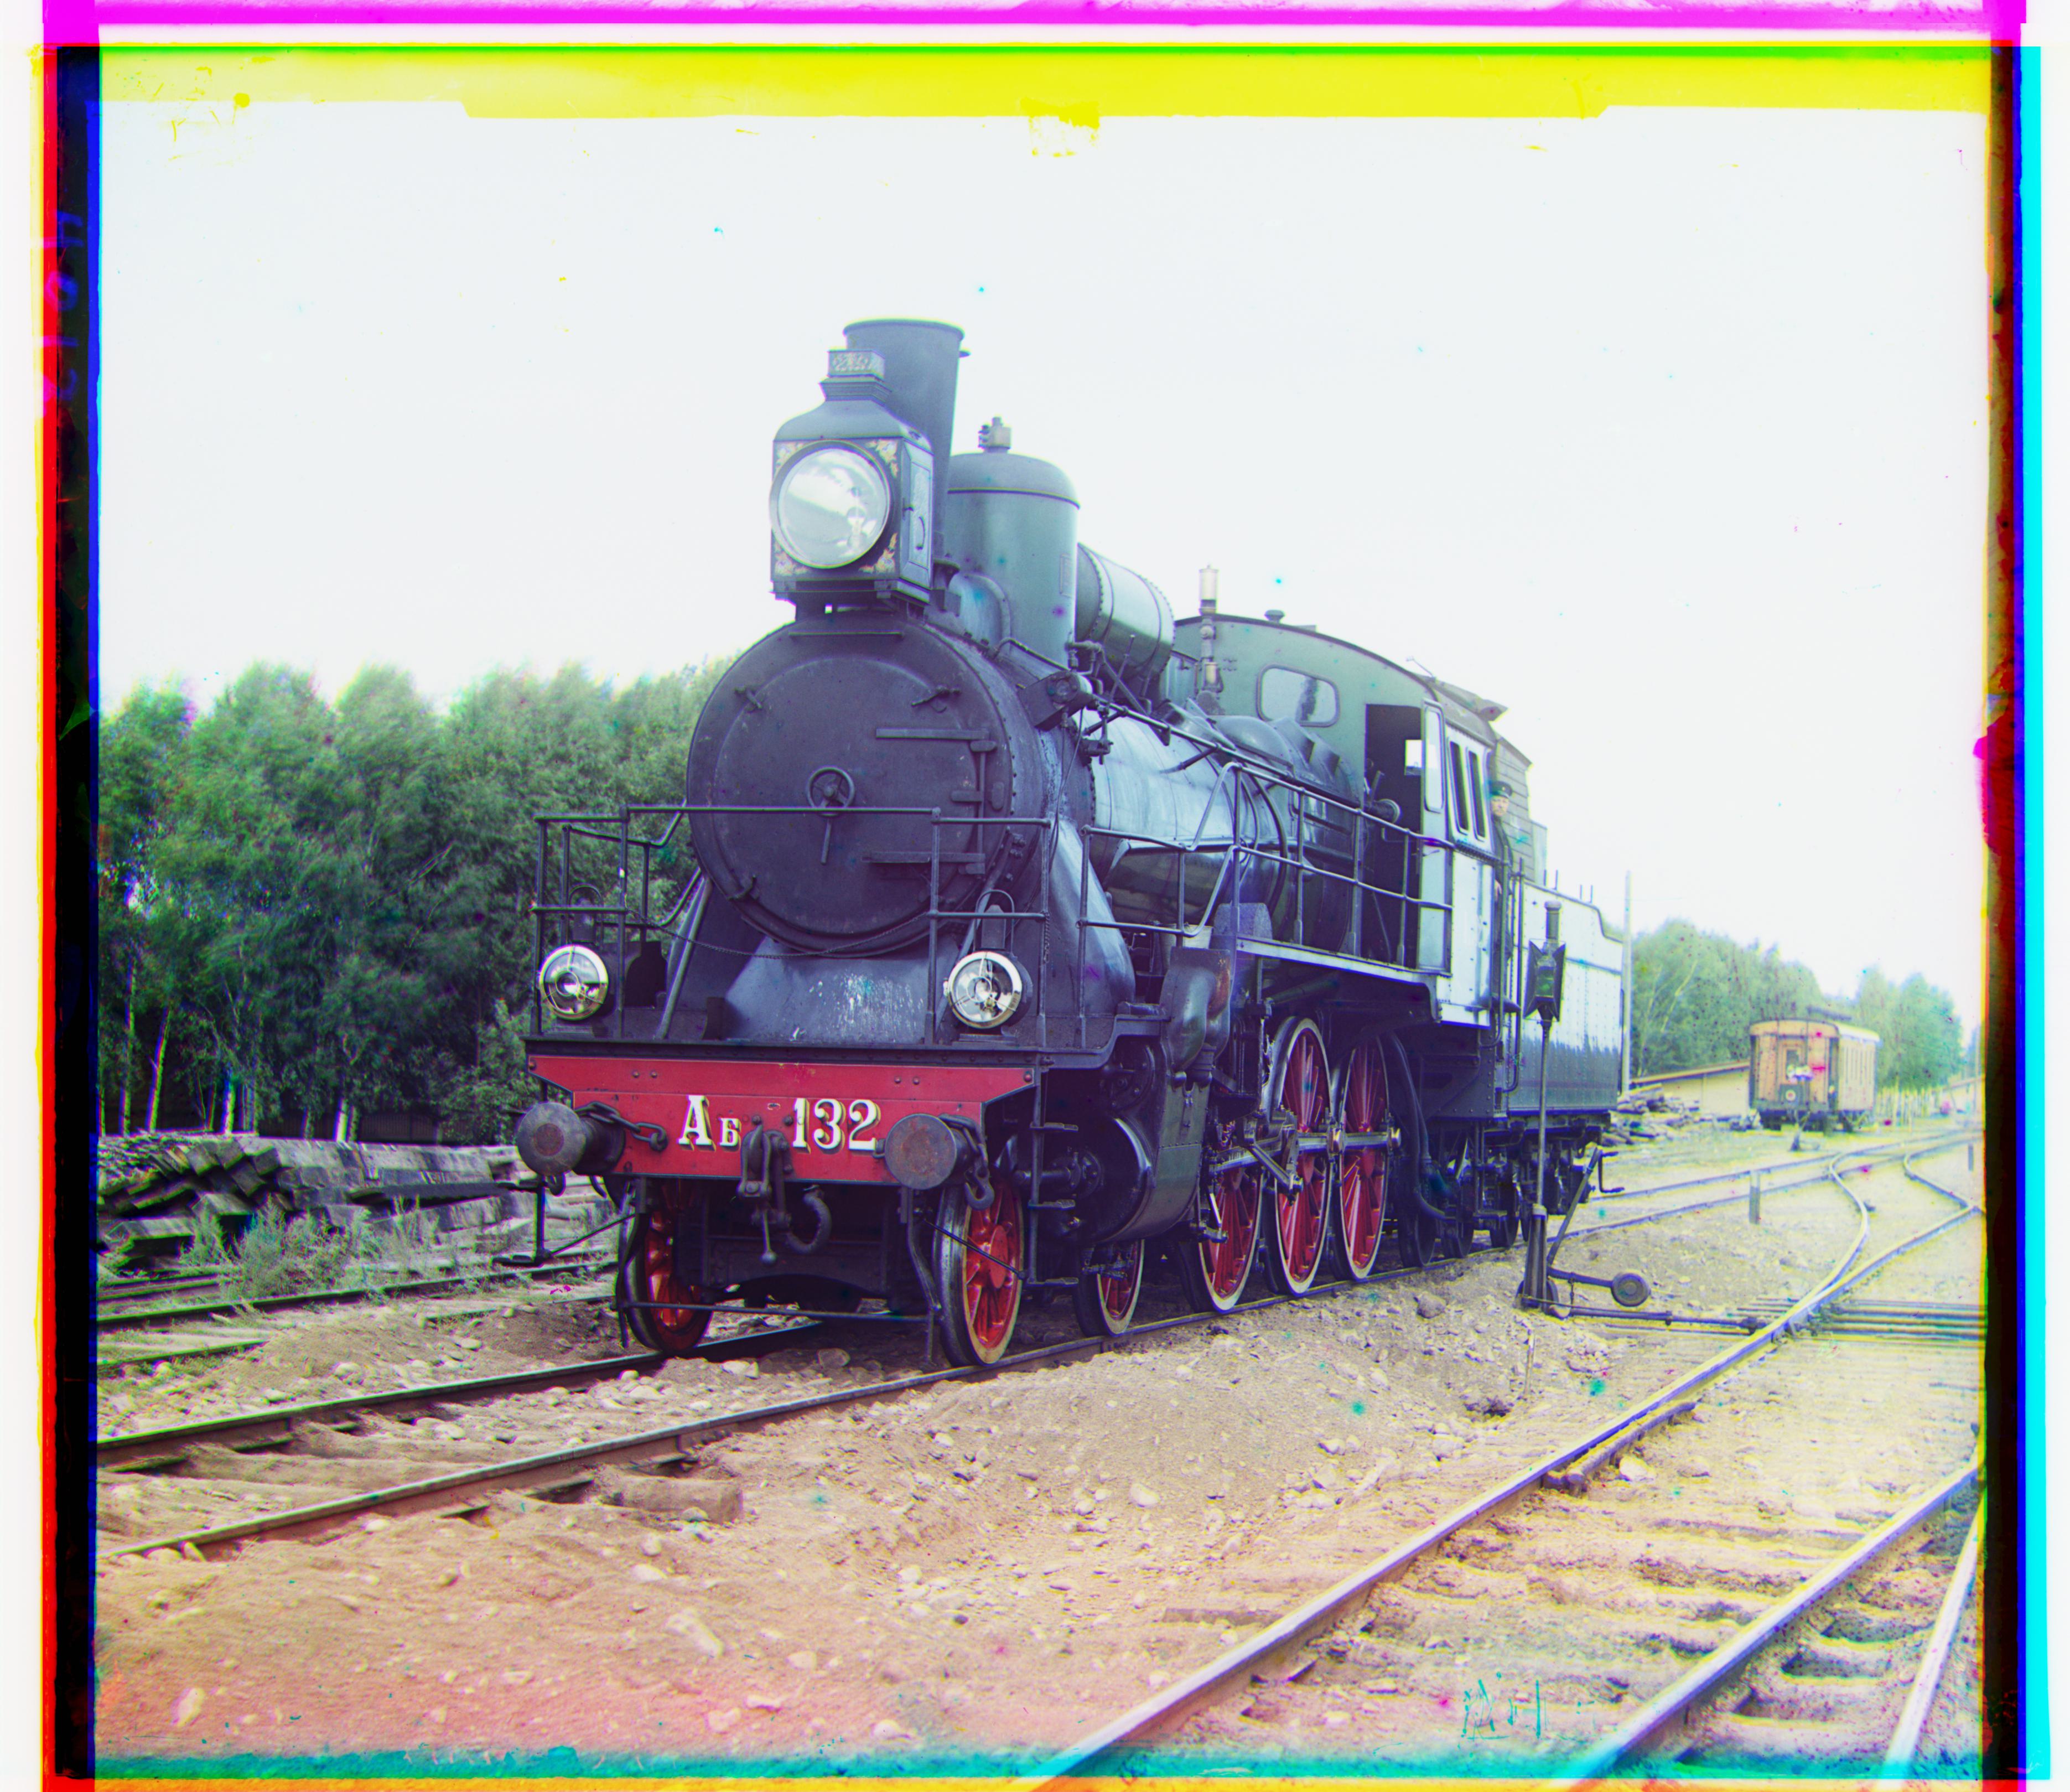
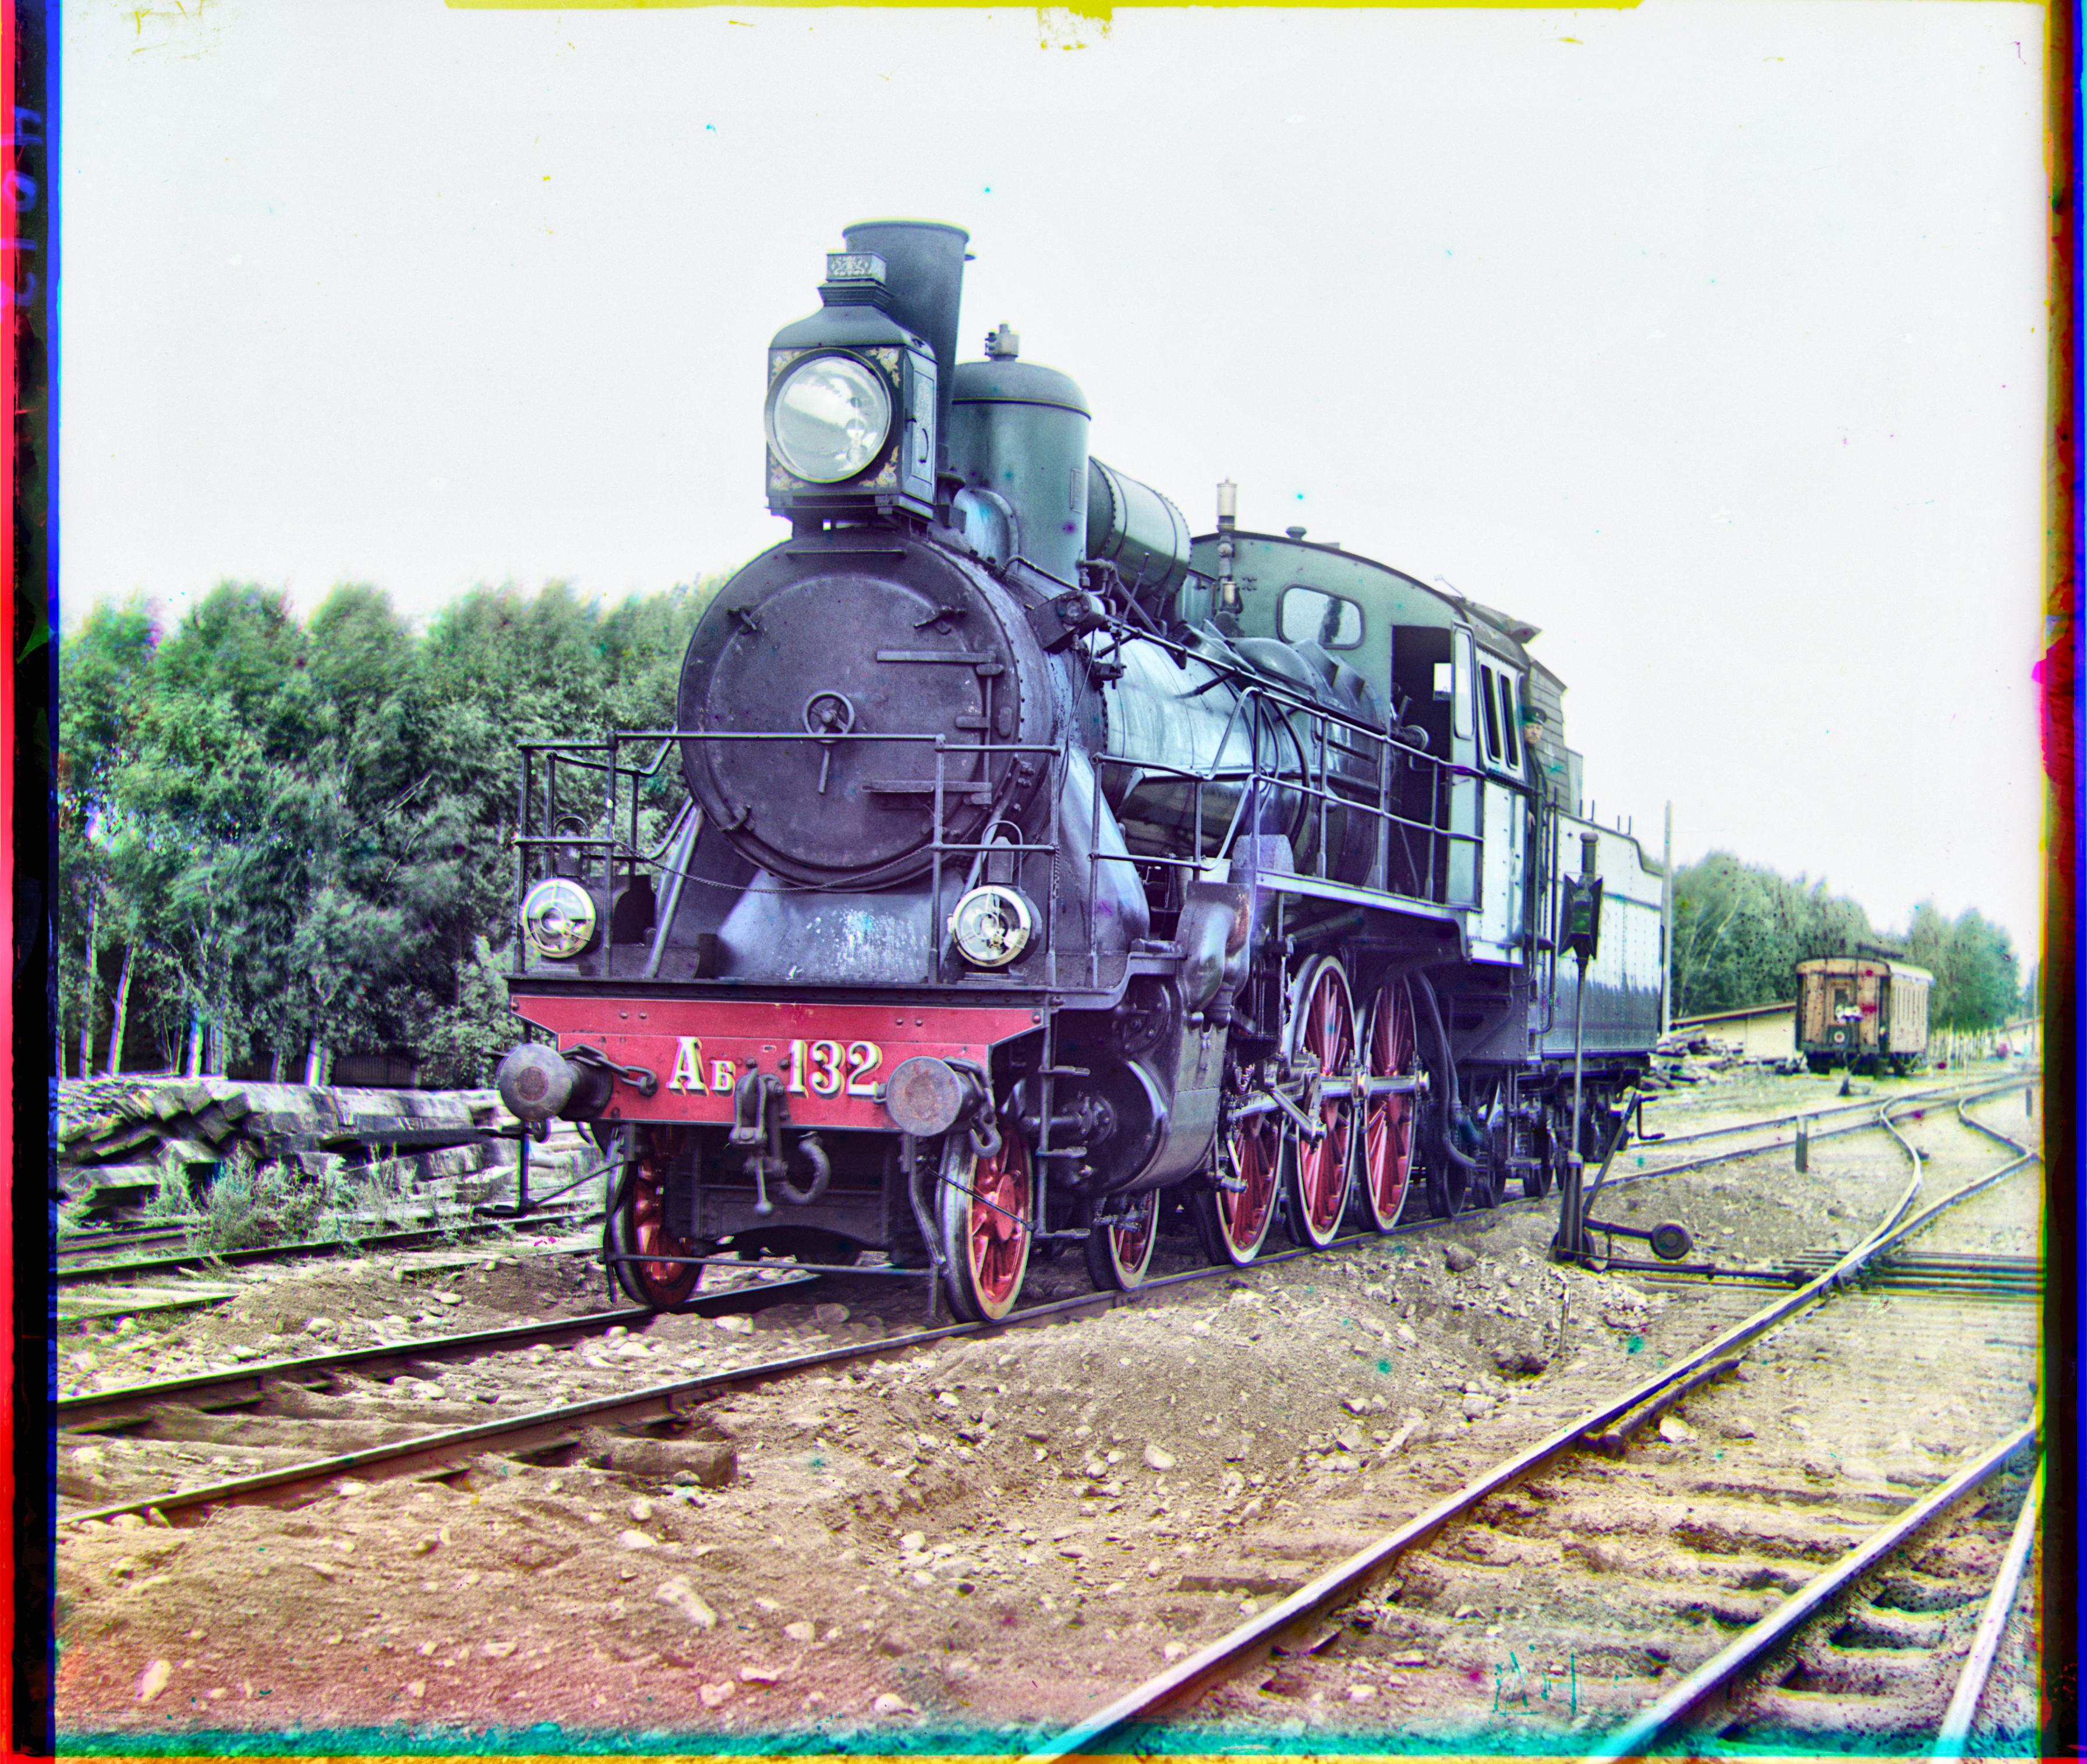
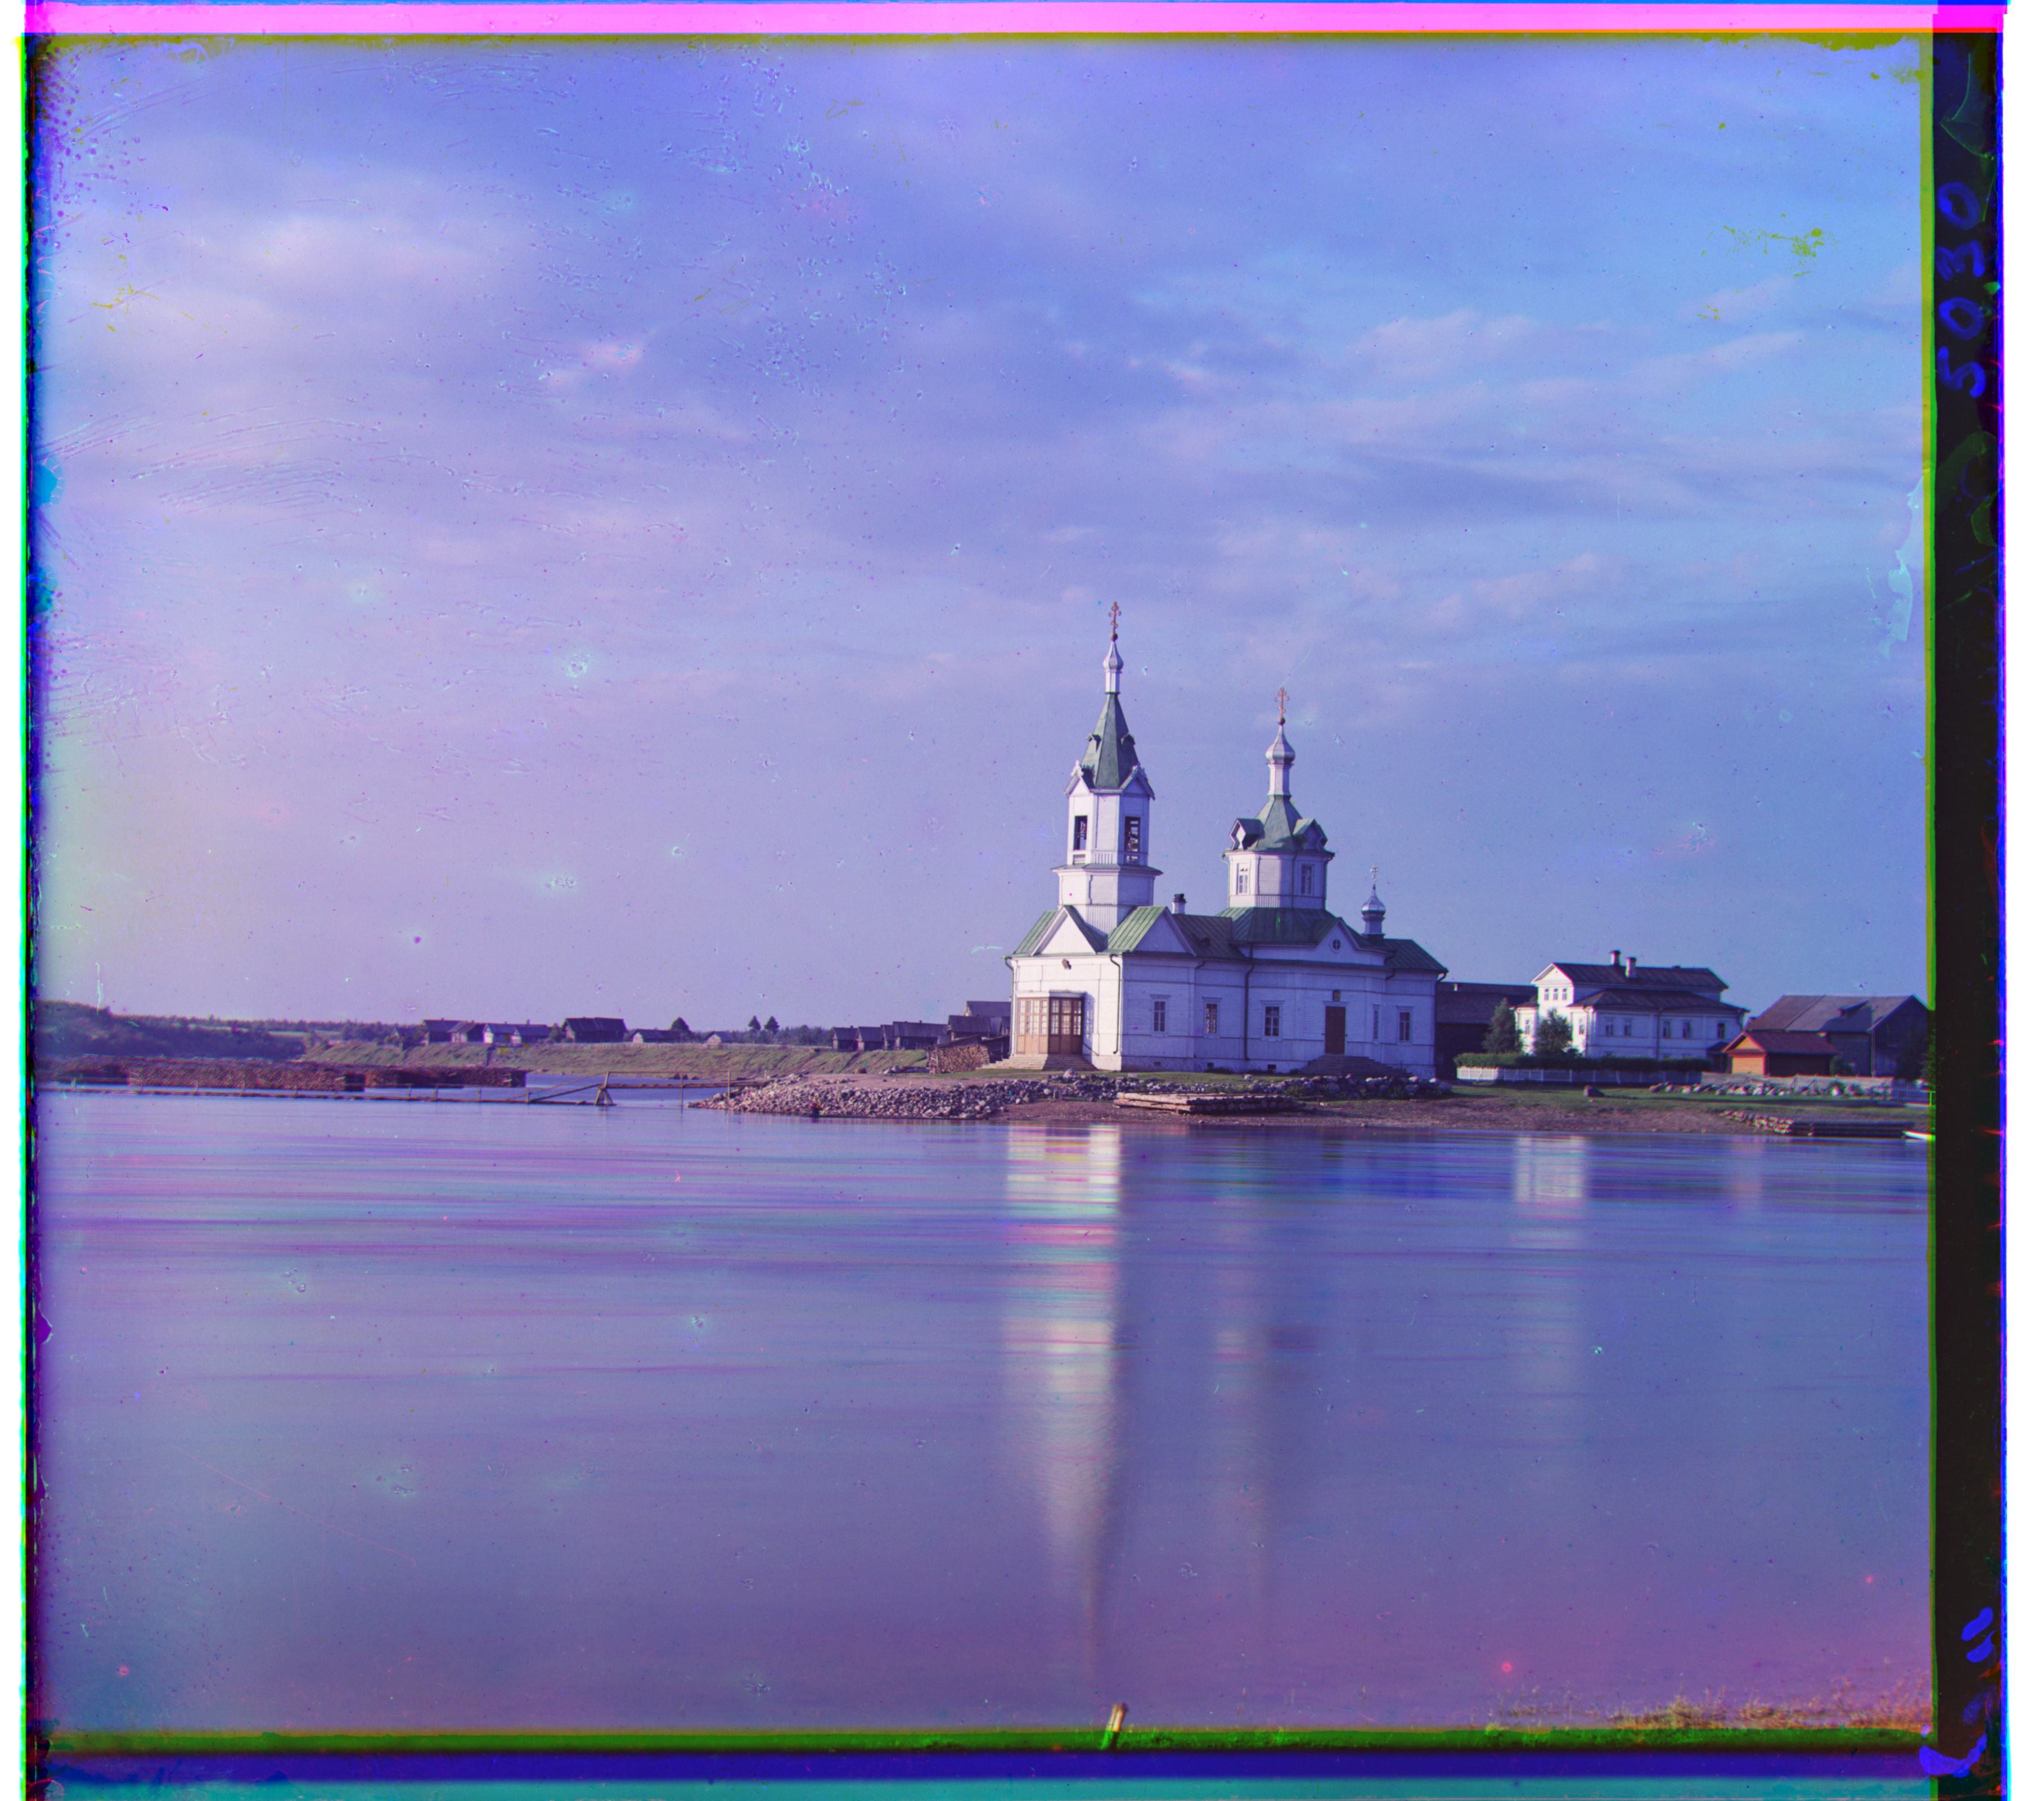
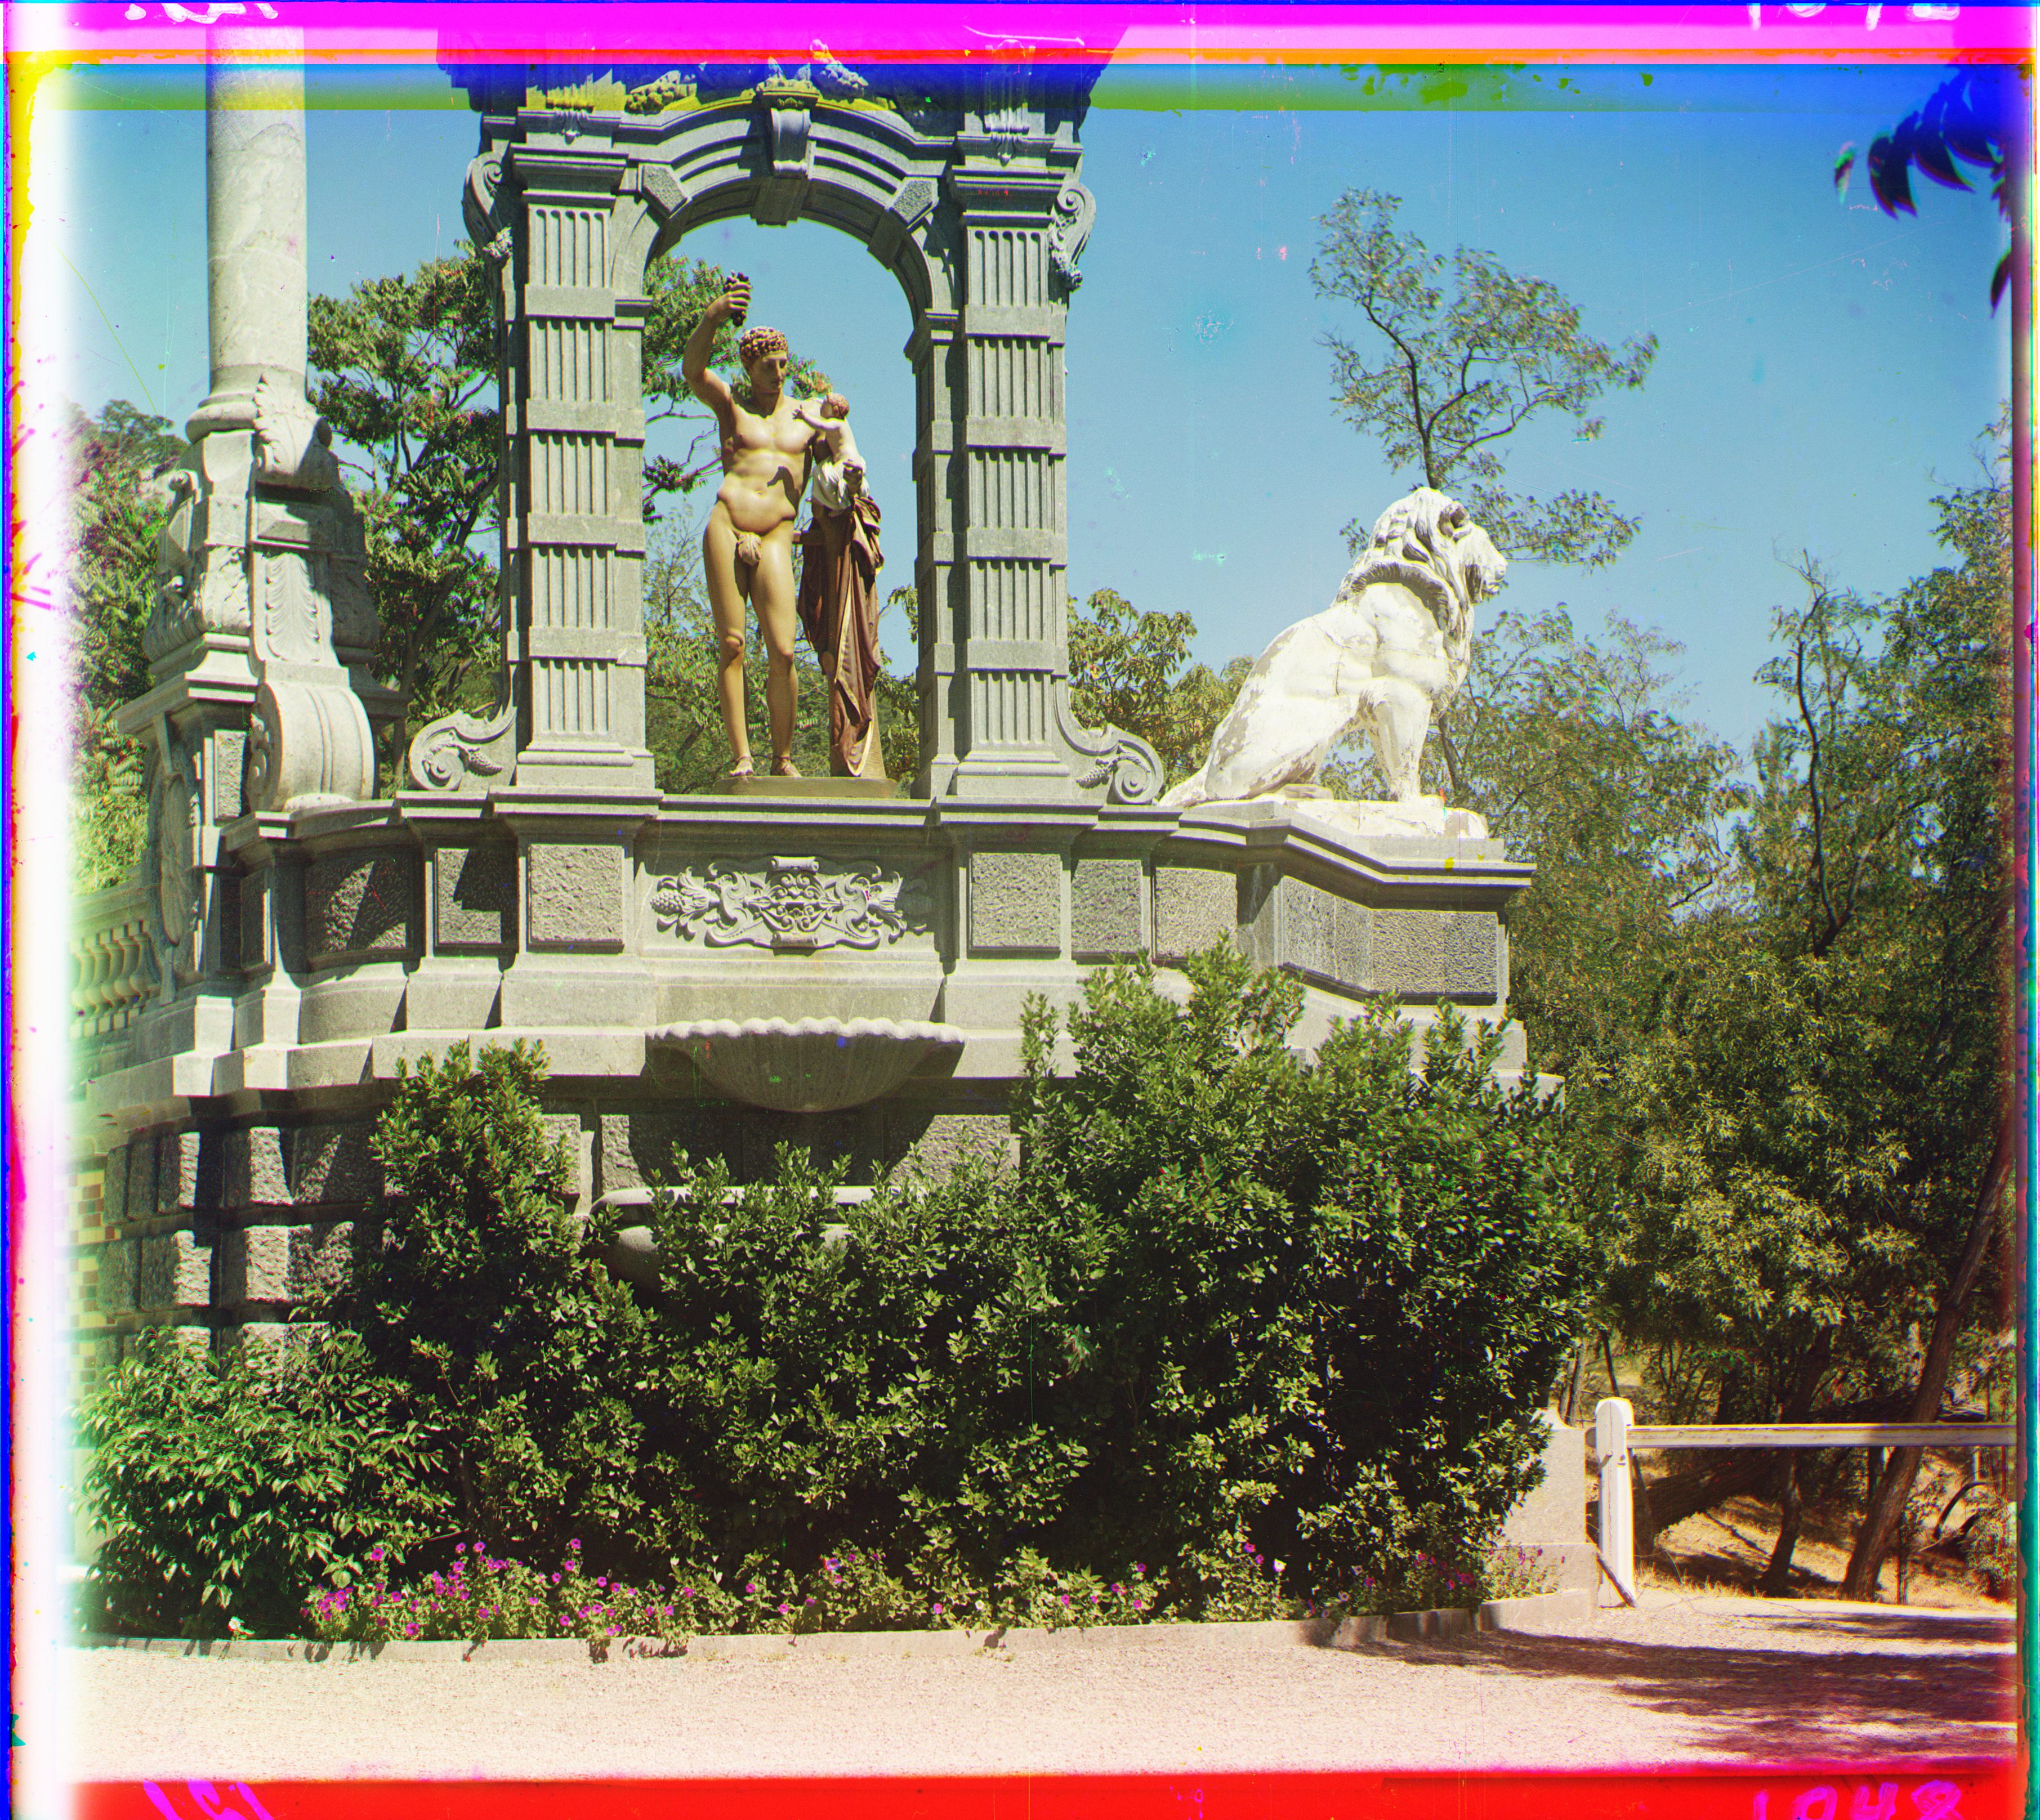
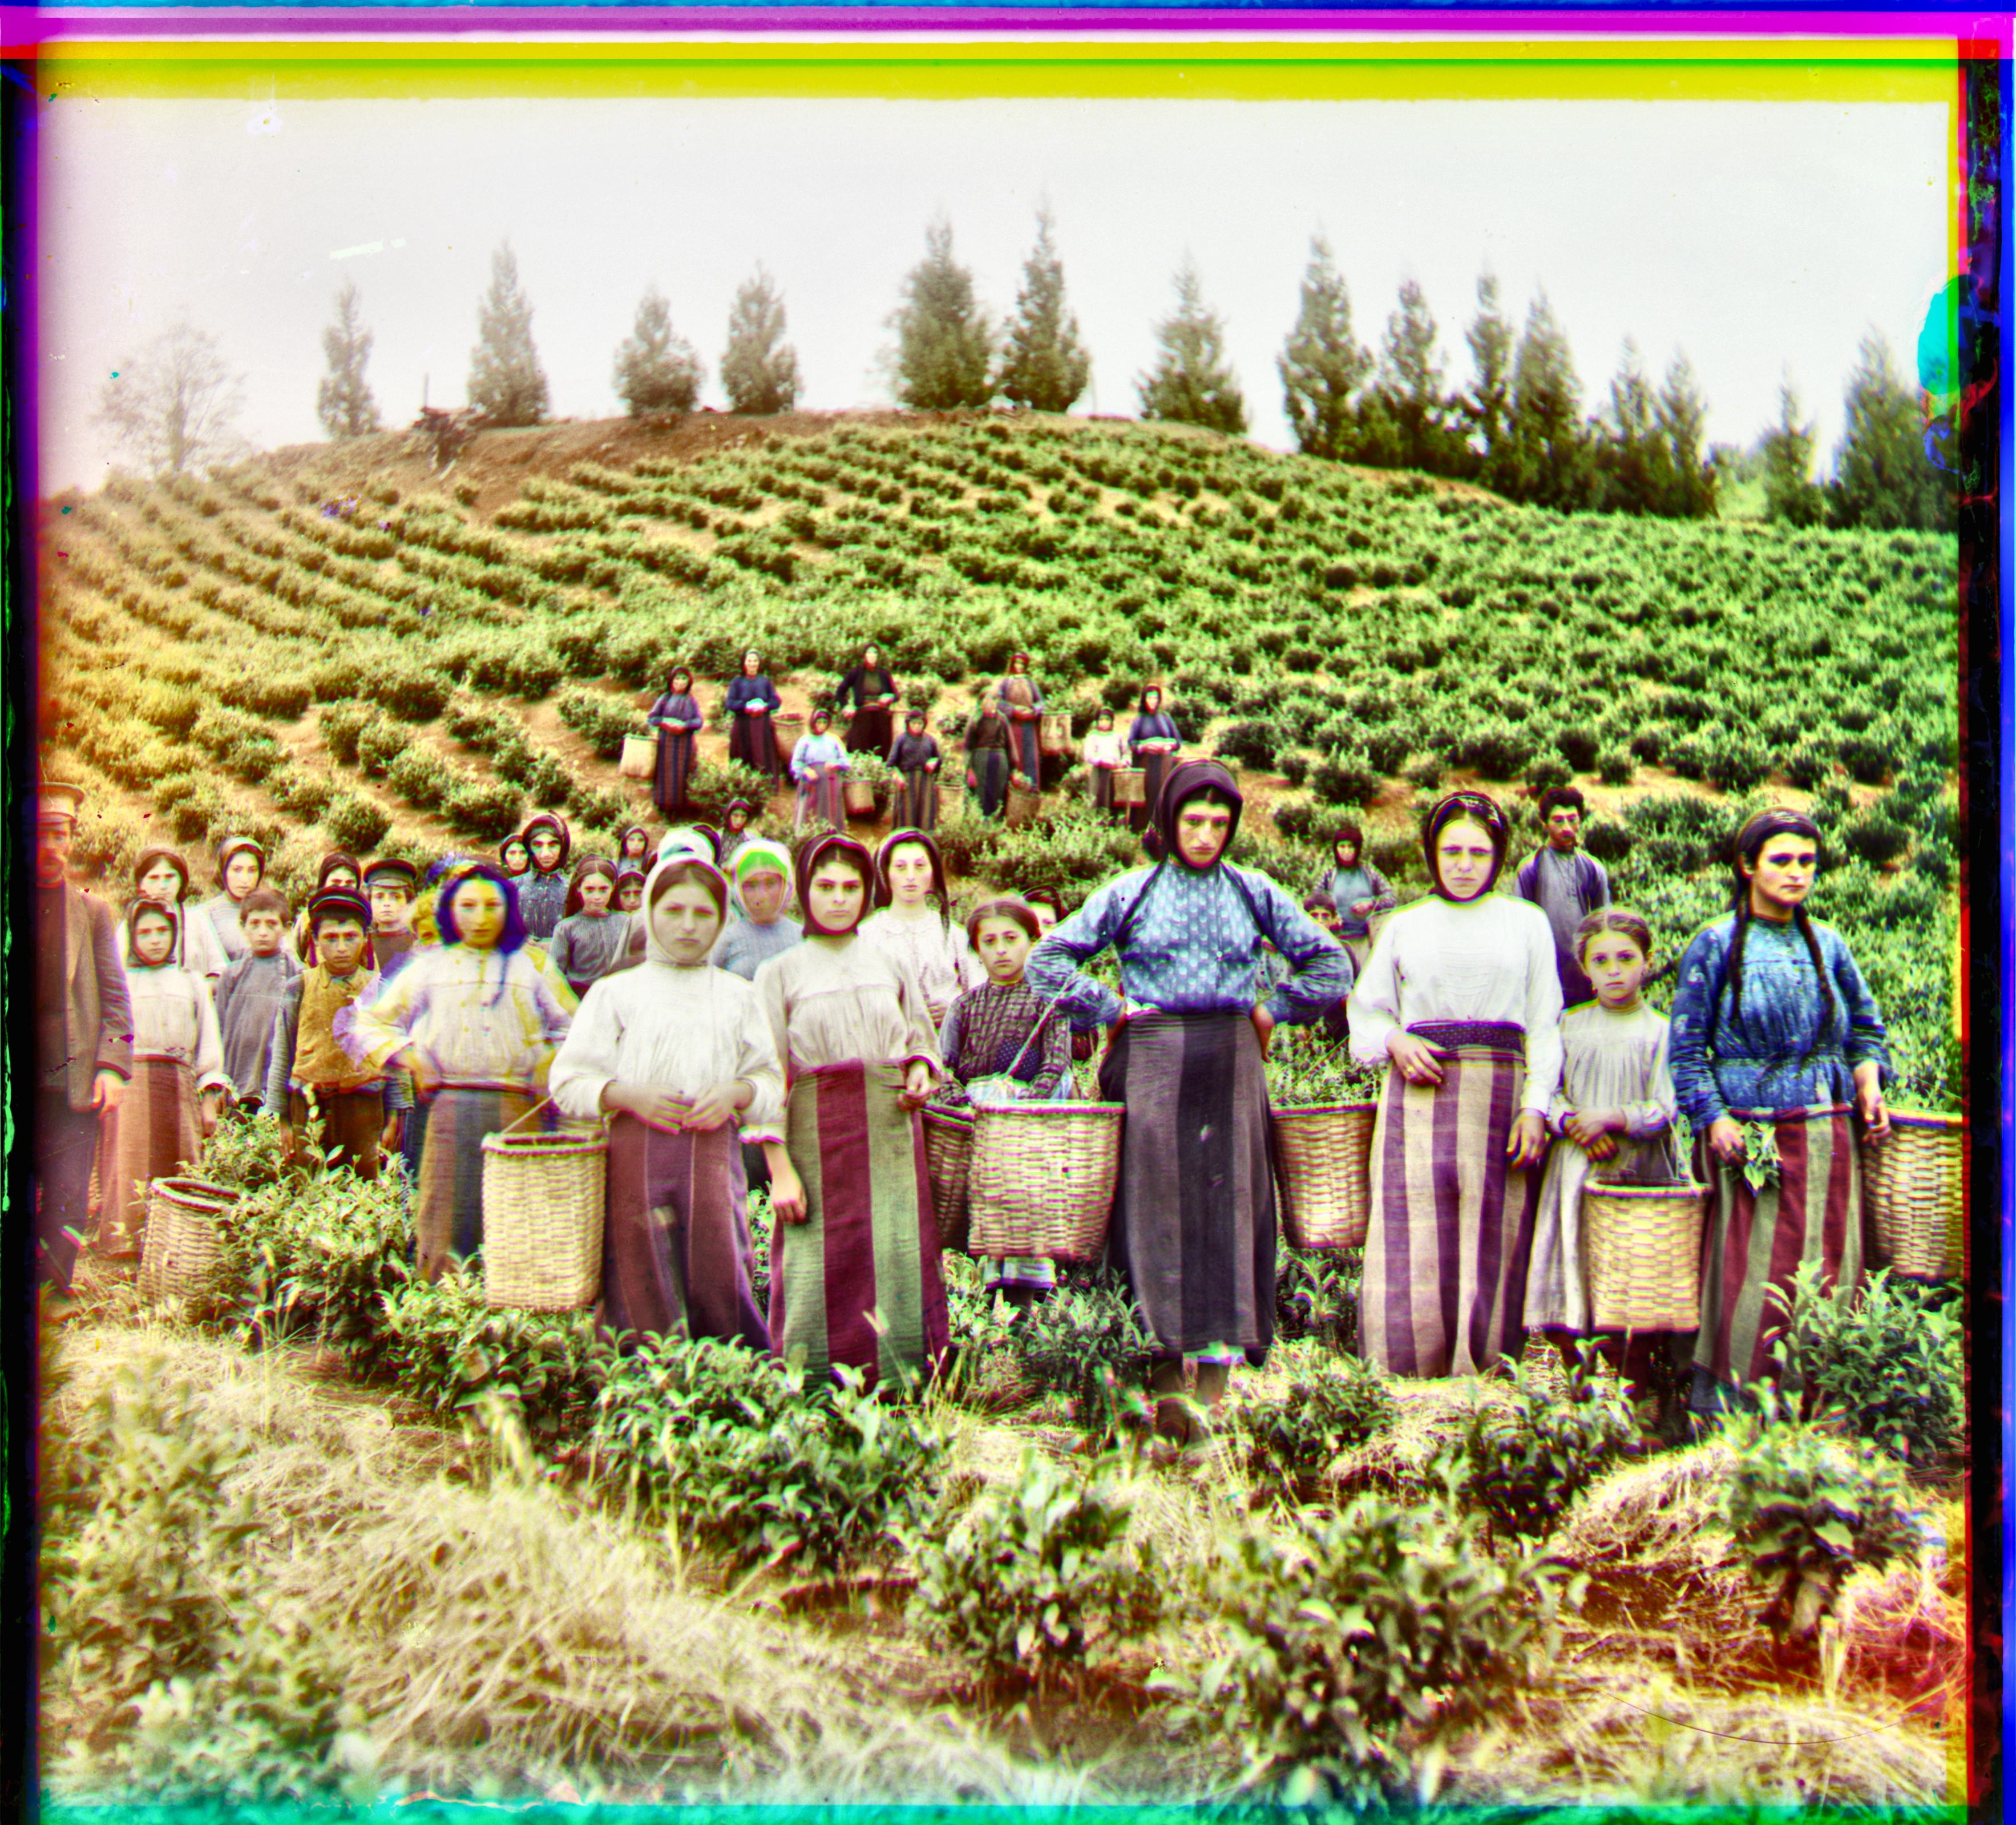
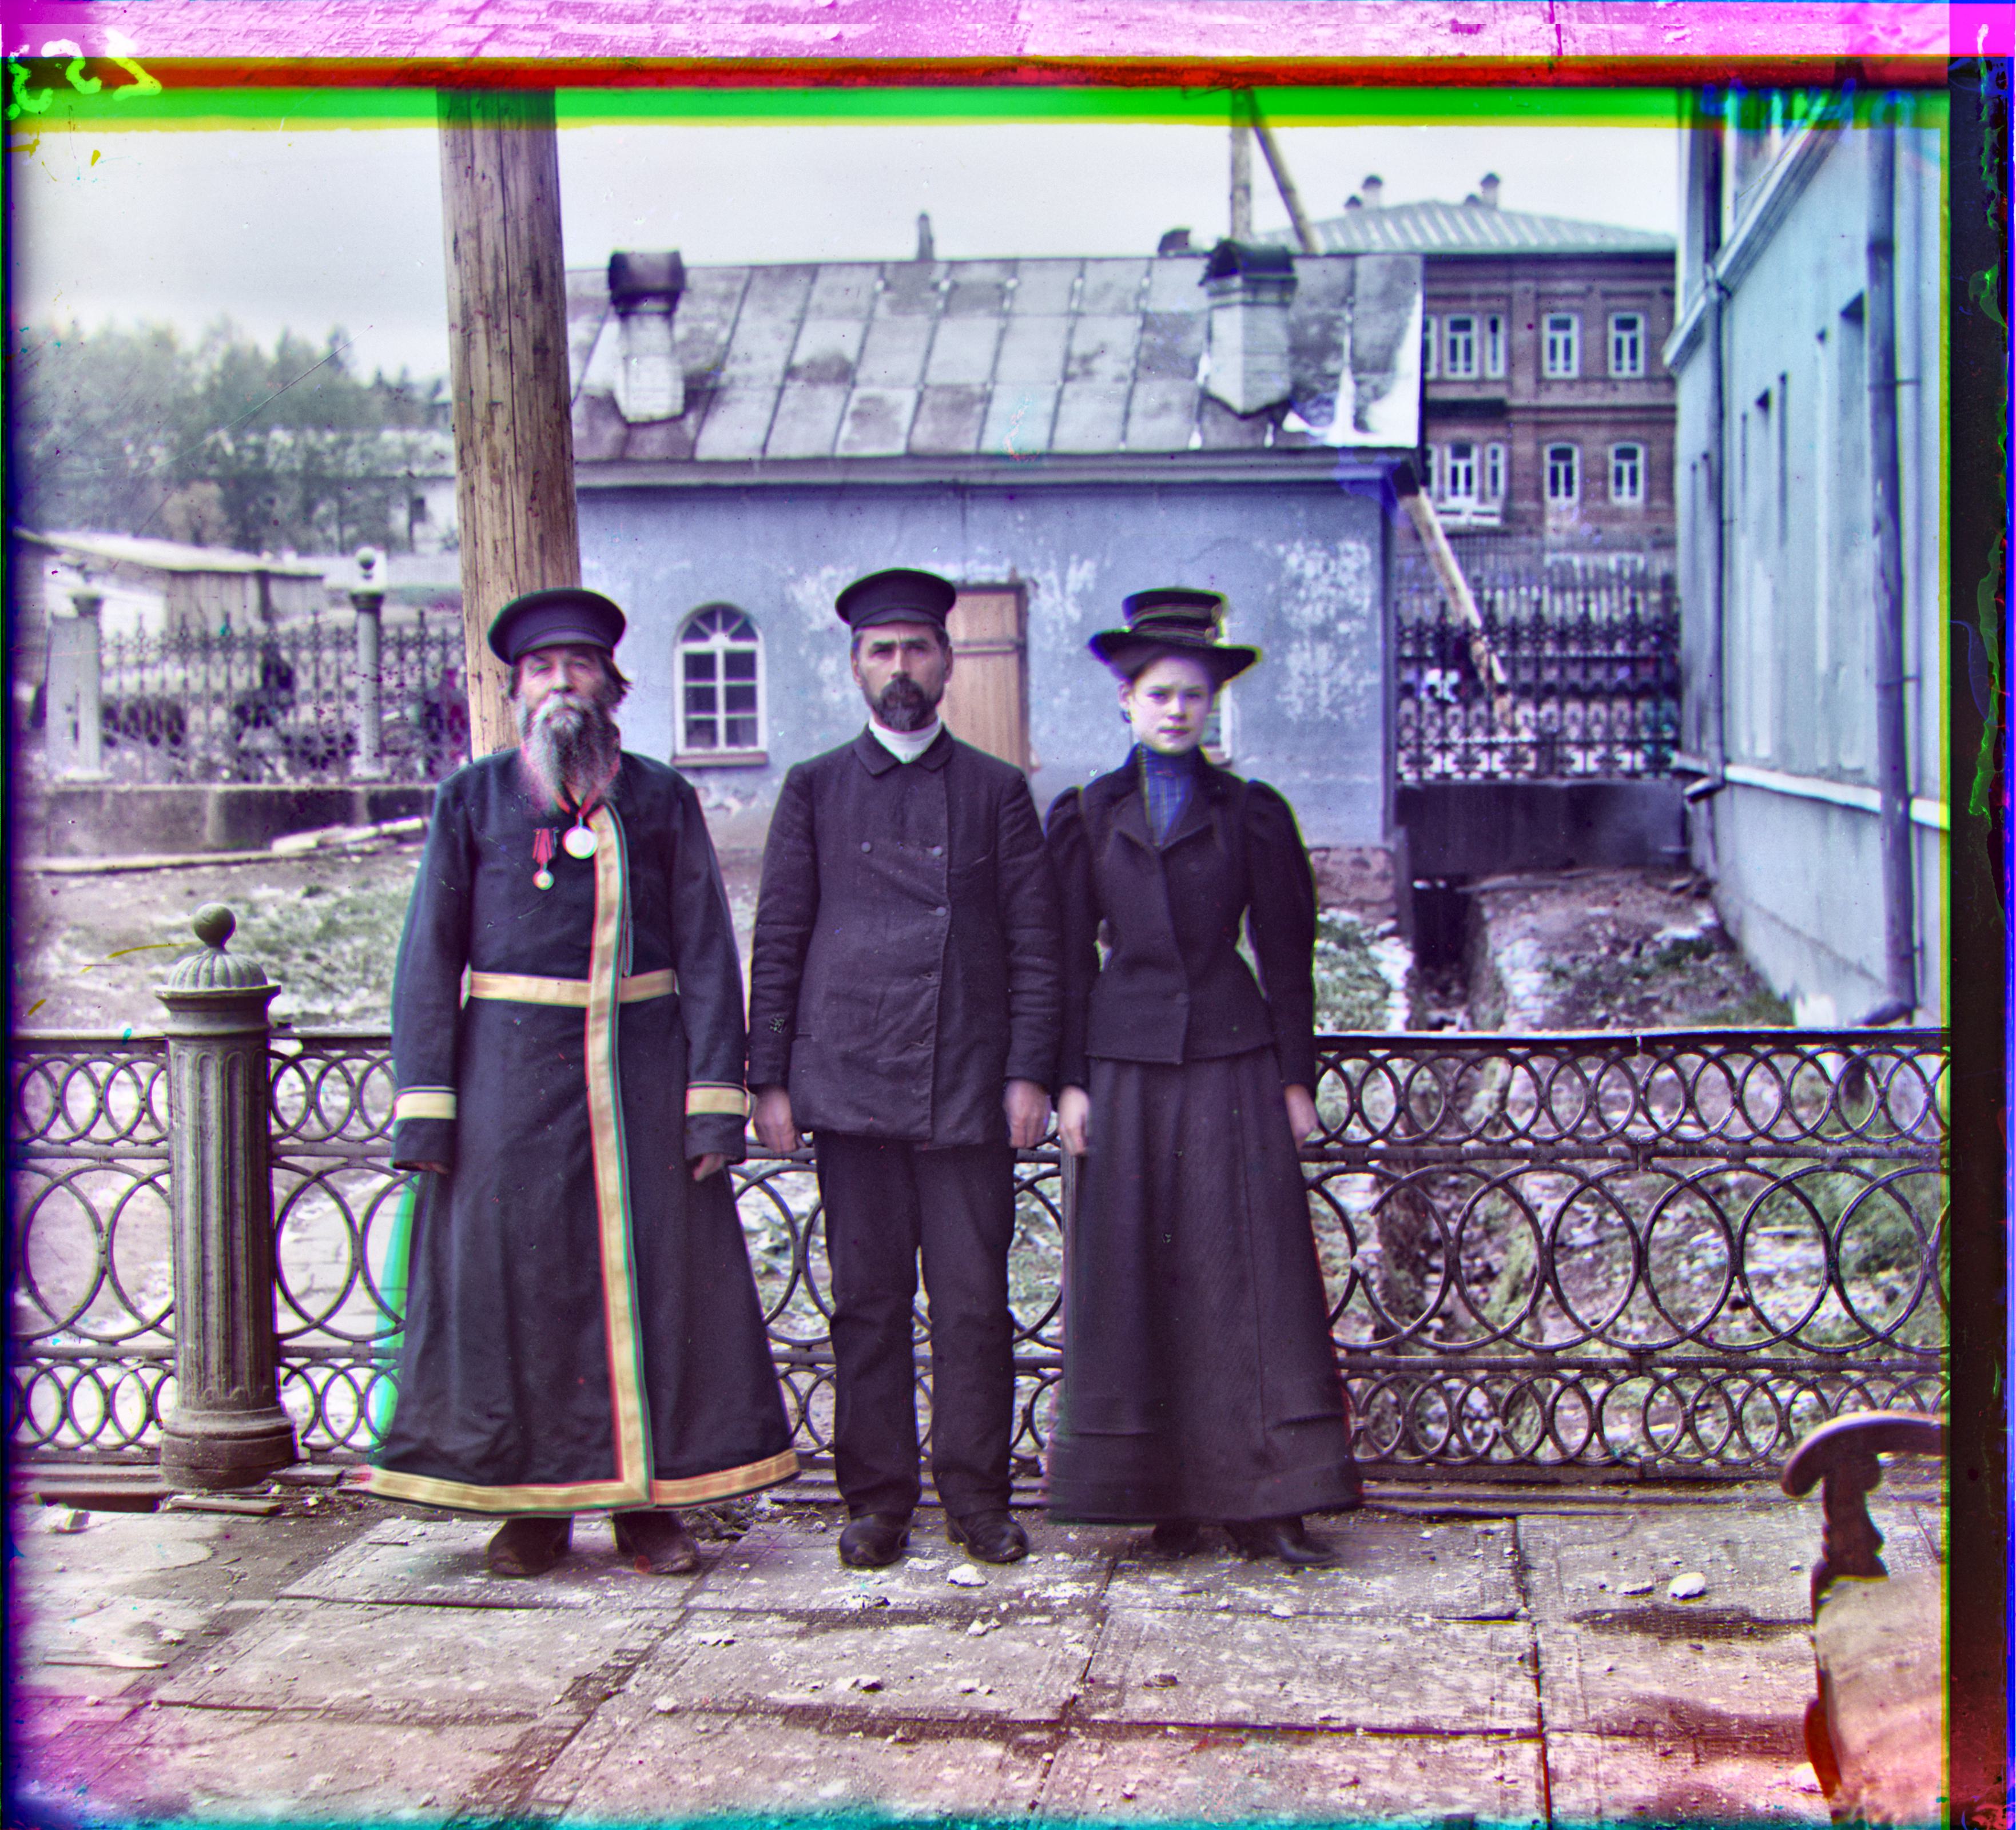
The images above show the processed image after applying the CLAHE contrast enhancement algorithm and the automatic edgecrop (left) and the stacked image without processing(right). Notice how the contrast is increased and some of the edges surrounding the pictures have disapeared.
The reason some are left is due to the fact that there is still part of the image "hiding" under the edges and the variance is high enough for it to be still in the picture as well as the number in the top right corner which is still part of the edge but making the columns have a high enough variance
to not get cropped. However I think this is good since this part is valuable information for the image. But we can see that the pink edge at the top as well as the bottom edge is removed since it contributes no information about the picture which is a good removal. I wanted to keep all parameters constant hence
some images show more edges than others after the automatic cropping due to the large difference in variance between images and the edges being rather constant.
